Commercial Management
Sales process
General Sales process goes in the following way:
The Process starts by creating a Deal. This is the first entry in the system of the deal details. It can be used for internal approval if necessary or that can be done on some of the following steps as well.
Then Quote – Order – Project - Invoice
Before starting sales process, products and services have to be defined. Please refer to Products and Services Section
Starting a Deal
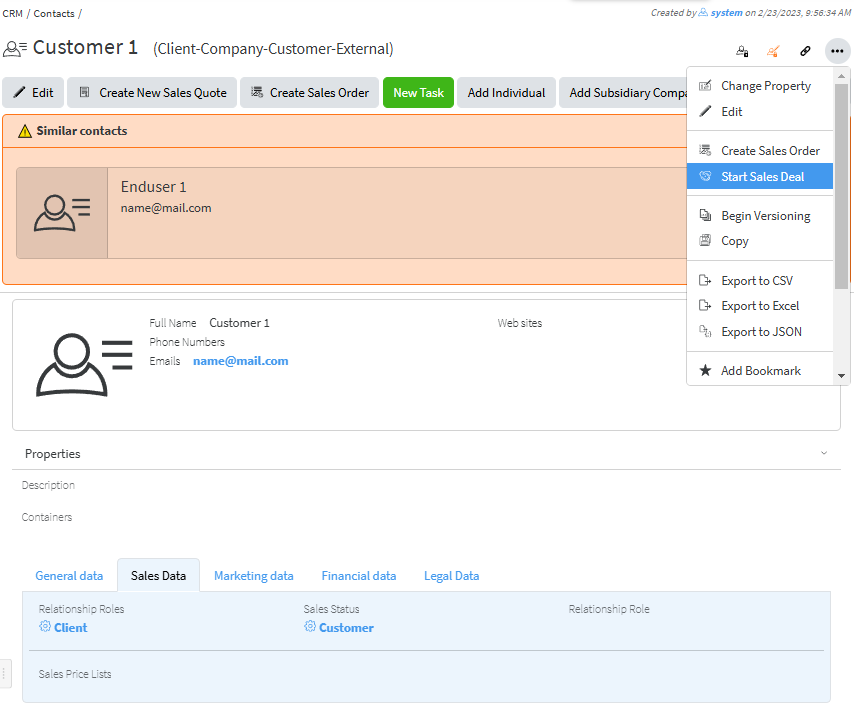
- From a contact, which type is External, and relationship role is Client (which might be a company or individual) Actions/Start sales Deal.
The details then need to be added.
Name – a name of the deal
Description – some description or additional details can be added
Close date – if there is a deadline it can be added here
Currency – it is selected from a dropdown menu. If not selected USD is used by default.
Price list – it is selected from a drop-down menu, as options shown depend on the currency chosen. For Price list see Creating Price List
Payment method, Payment terms, Shipping method and Contacts are added if needed.
Deal # by default is a text, depending on the company policy for numbering Sales deal, however automatic numbering can be additionally configured. Enumerators can be added in advance to use automatic numbering. Creating Enumerator
By Pressing Create, the Deal is created.

Items (Sellables) can be added after that in Edit Mode (Actions/Edit) or by quick edit button 
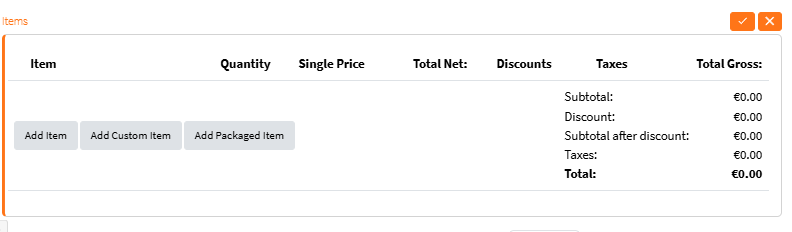
When pressing Add item at the bottom left of the deal screen, a field with item details is shown.
By clicking in an empty field a list with suggested Products is shown,
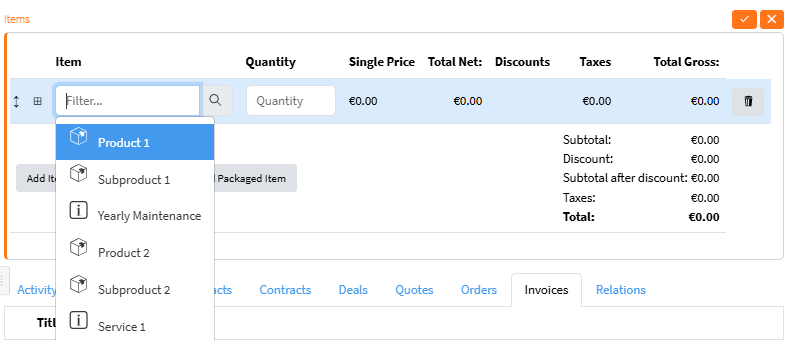
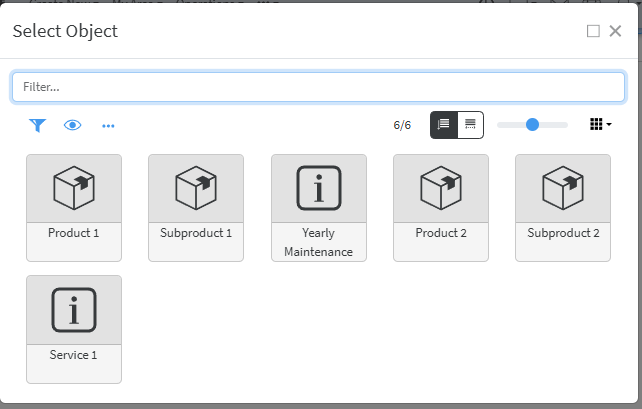
If another one needs to be found or new created you have to click on the magnifier and in the pop up screen you can find an existing item.
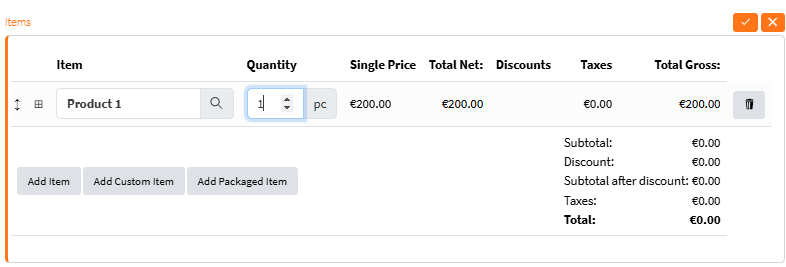
Once the Item is added and quantity is set to 1 or more, the price from Price List appears. It can be edited if necessary.
Some additional information needs to be filled in and it appears by pressing here 
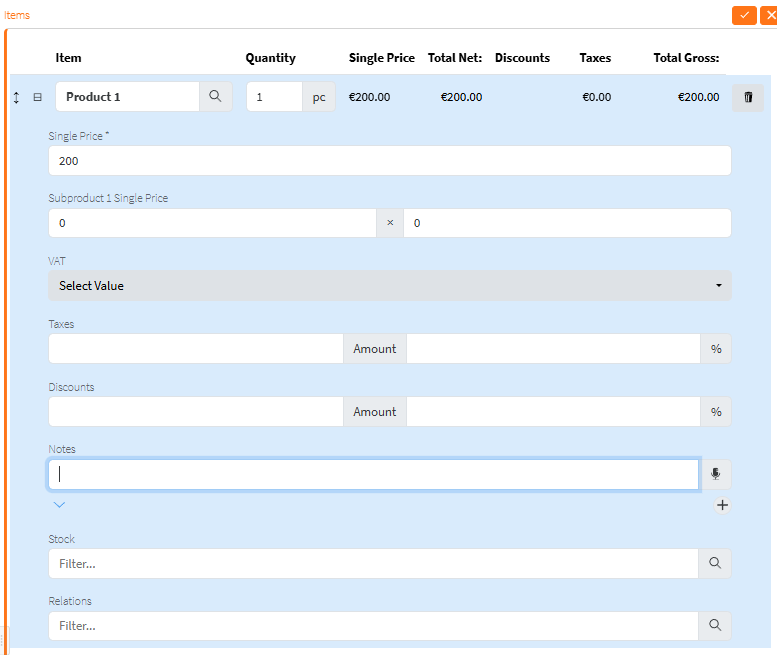
Quantity and single price can be edited.
The VAT, additional taxes and discounts (in % or with a value) can be added.
Stock will be defined later.
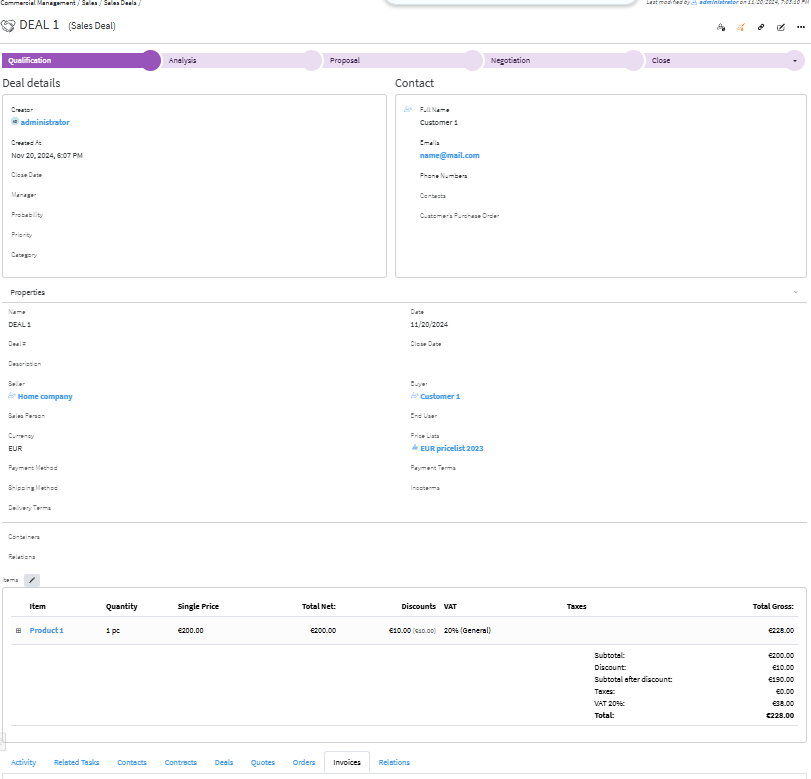
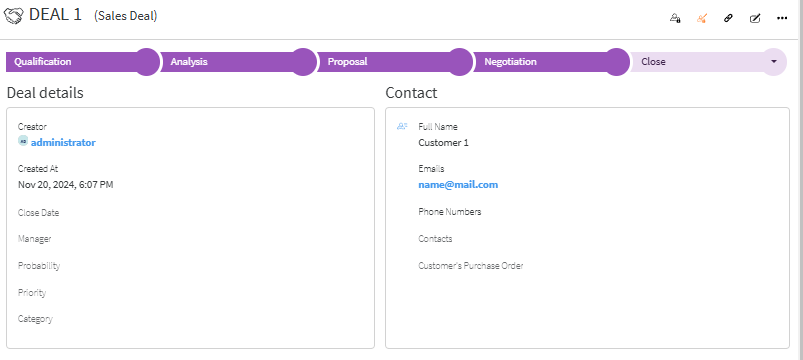
Deal statuses by default configuration are
Qualification – Analysis – Proposal – Negotiation – Close Approved/Close Declined
Depending on customer’s needs these statuses can be more or less and named in a different way.
In the Deal Object at the bottom of the page there are several tabs with useful links and information.
Activities
At the bottom of the page, in Activity tab, the Several types of Activities can be monitored
They can be swithed on by pressing the corresponding button.

The two main types are:
Comments  and Activity logs
Comments are used for real time comments and notes.
Adding a comment - In the corresponding field Add a Comment is visible in grey.
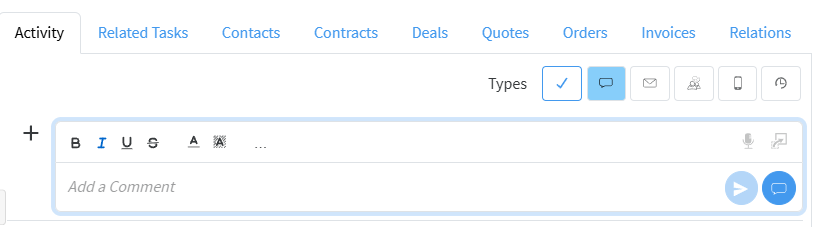
The comment is written there and it is added by pressing Submit Button.
They can be formatted with colors, fonts, styles, etc and edited if needed.

Activity  – shows log of the Activities
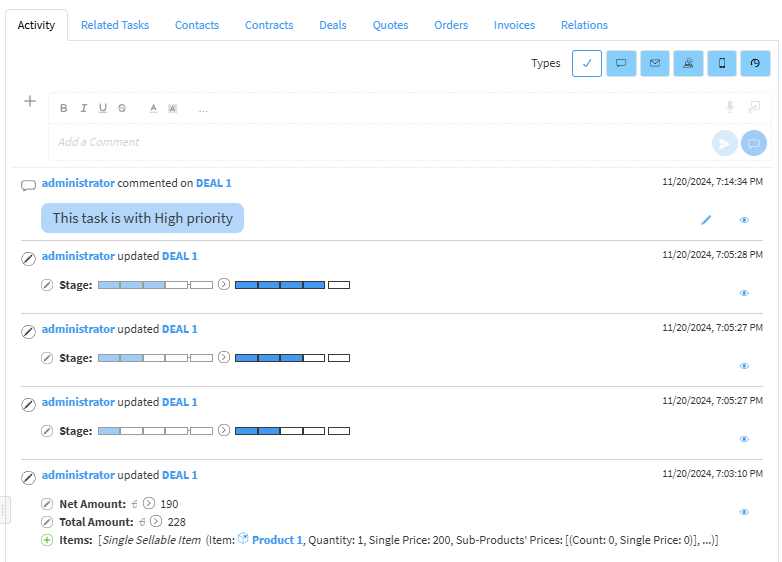
In Relations tab any related file or object can be seen Relating a file or an object.
Creating a Quote
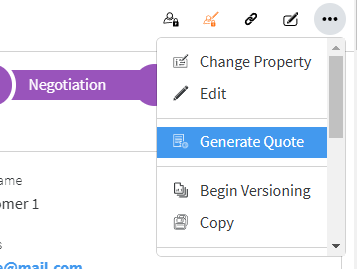
From Deal the Quote can be created by Actions/Generate Quote with the details that are in the Deal
Quote # by default is a text, depending on the company policy for numbering Sales quote, however automatic numbering can be additionally configured. Enumerators can be added in advance to use automatic numbering. Creating Enumerator
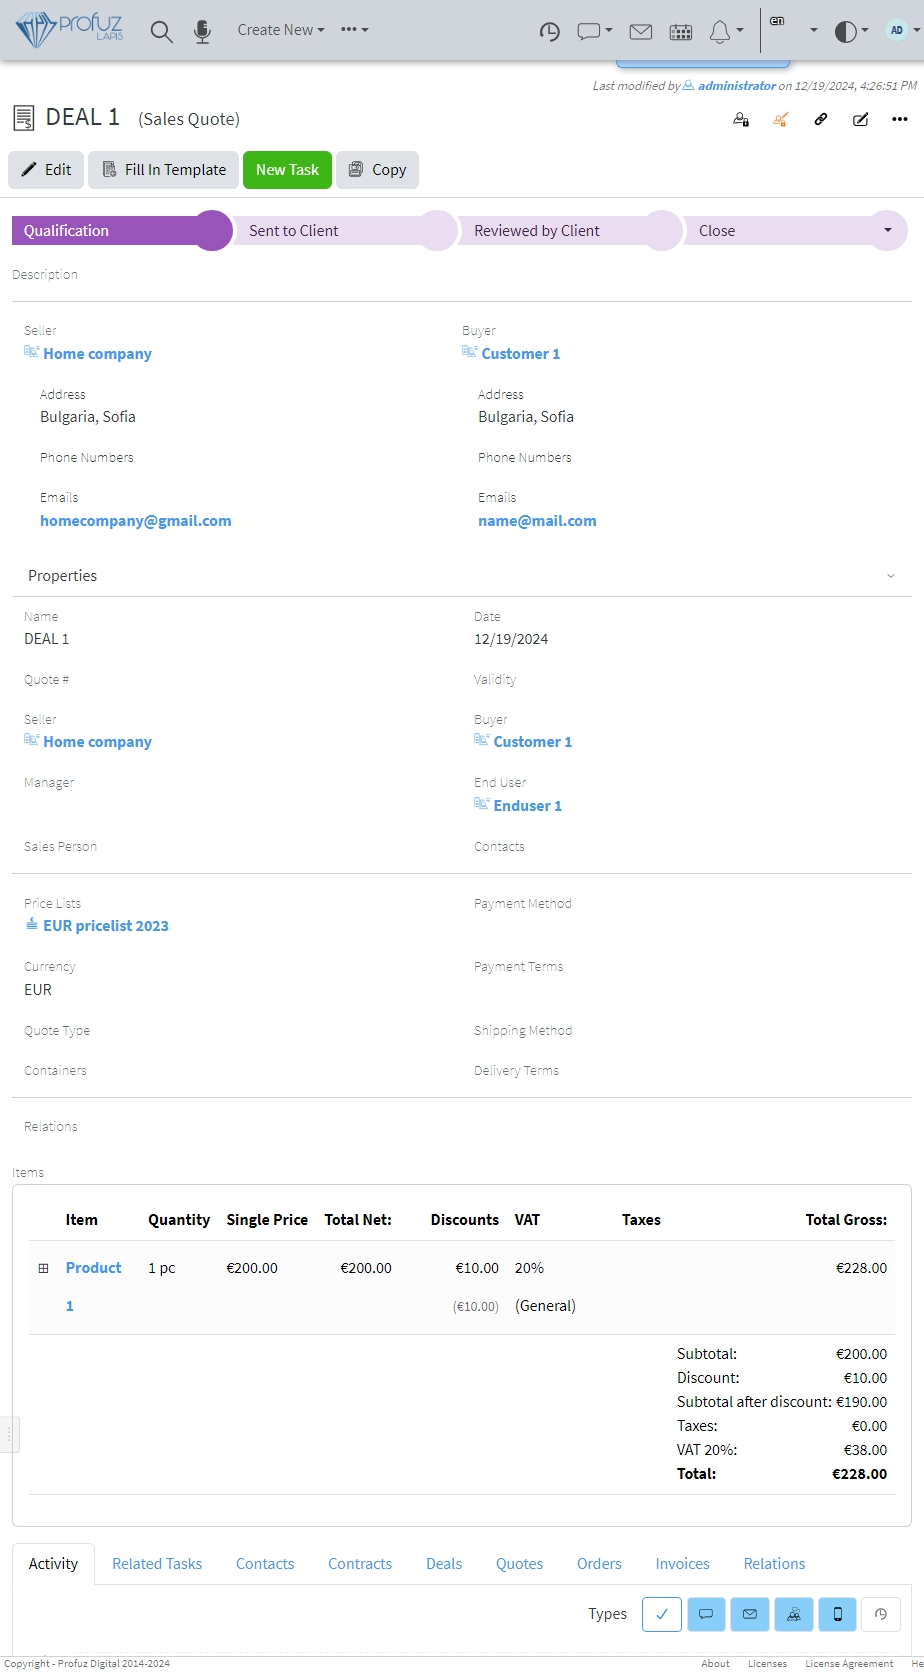
Quote Statuses by default are Qualifications – Sent to Client – Reviewed by Client – Close(Approved/Declined)

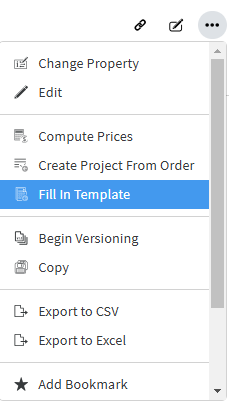
To create A file from Template with the details from the object, go to Actions – Fill in Template from the Object Operations menu, at the upper right  See Creating a template
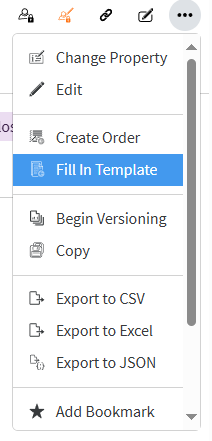
and choose the Template you need.

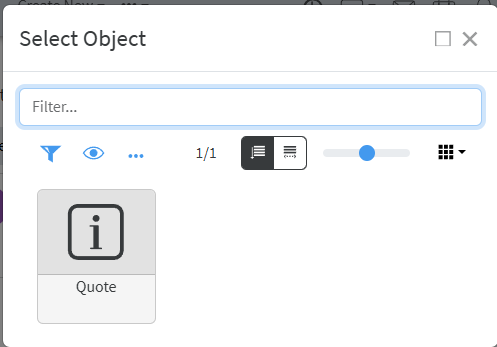
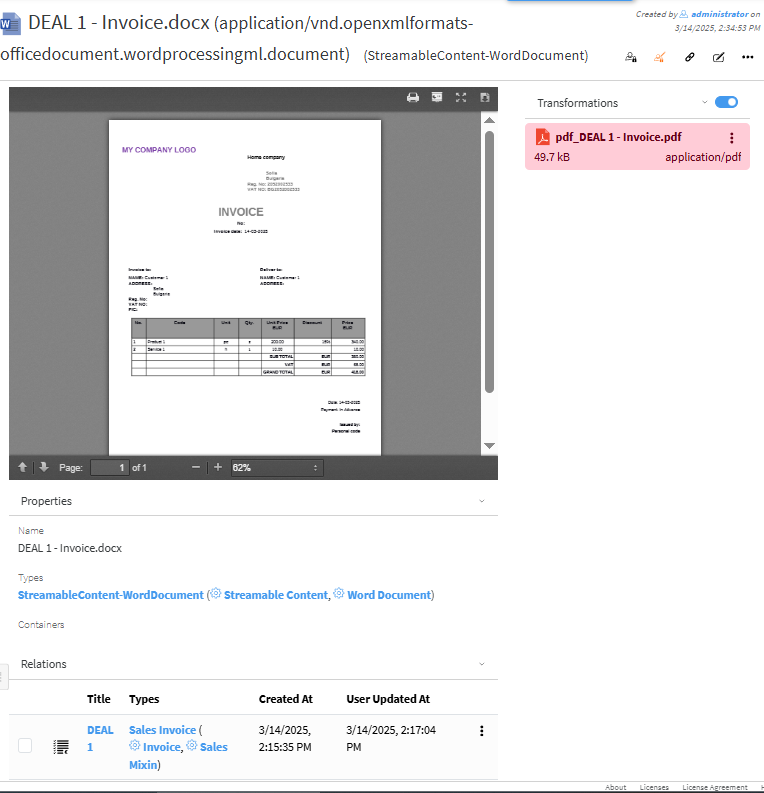
Once selected, the document is generated. It might need some time.
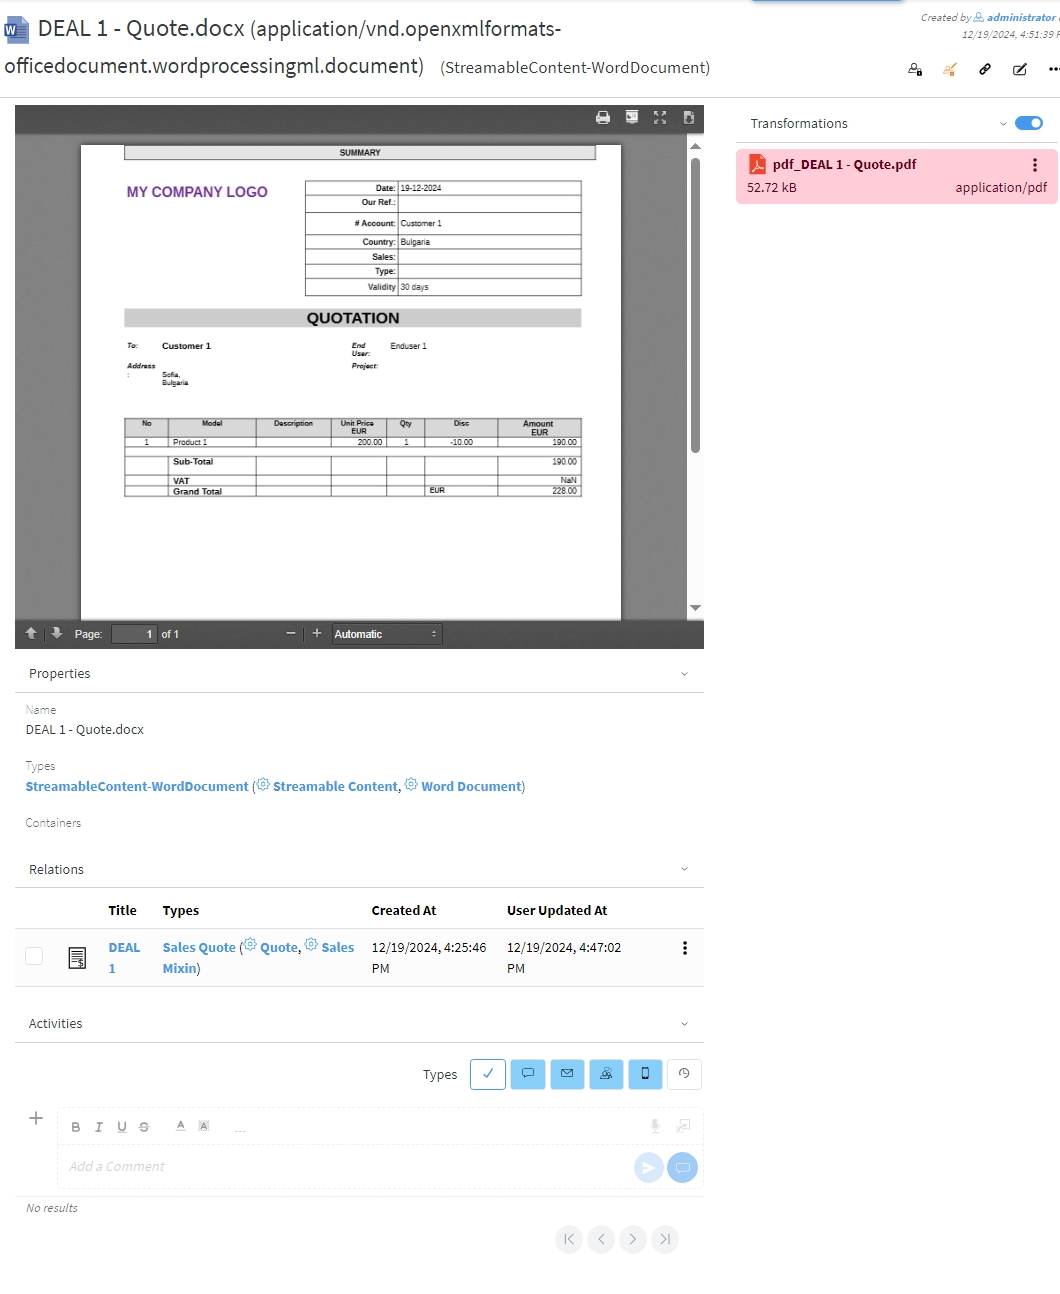
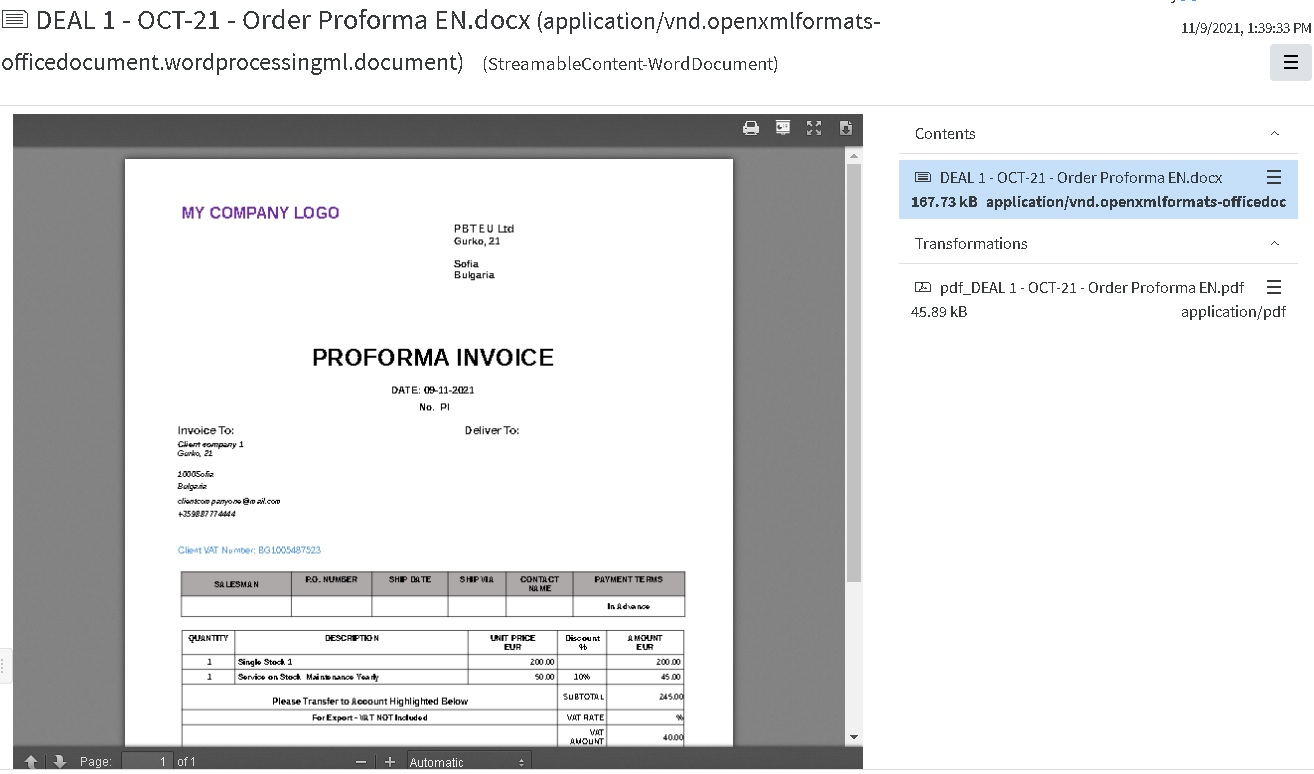
Then the file is generated in docx format. Docx file is shown in the Contents field.
There is pdf transformation available as well, which can be shown or hidden by swithing on
and off the Transformations list
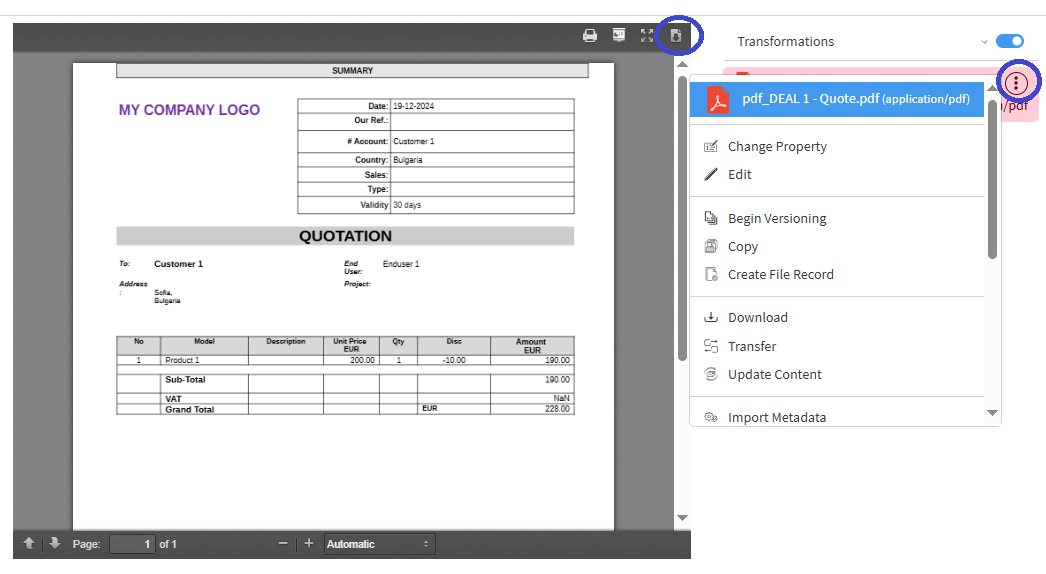
The download of .pdf file can be done by download button in JS viewer 
or in the Transformation field, by clicking the Actions icon 
The Quote object can be accessed from the current view of the generated file as it appears at the bottom in the Relations section
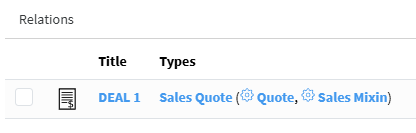
A docx file appears in Relations tab at the bottom of Quote object. It can be downloaded from there as well via Actions icon


Once the status of the Quote is set to Approved, the next step can be done – creating an order
Creating an Order
- From Create New/Other – Sales order – in case Sales process doesn’t go via Deal-Quote
- From a contact, which type is External, and relationship role is Client (which might be a company or individual) Actions/Creates Sales Order - in case selling process doesn’t go via Deal-Quote
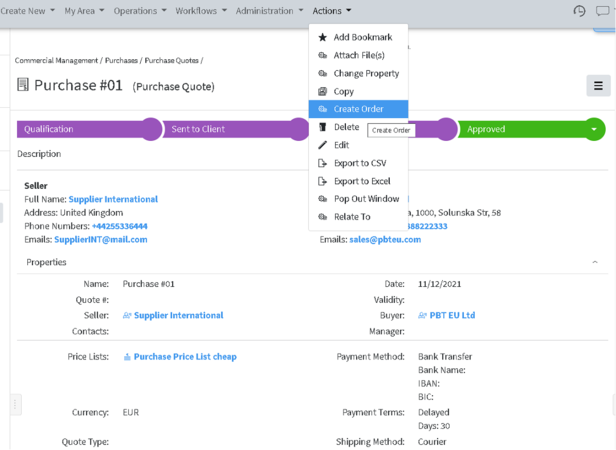
- From Quote the Order can be created by Actions/Create Order
Order statuses by default configuration are Draft – Validated – Processed - Close (Delivered or Canceled)
Order has the same data as Quote. If necessary, some may be added and some amended.
Order # by default is a text, depending on the company policy for numbering Sales orders, however automatic numbering can be additionally configured. Enumerators can be added in advance to use automatic numbering. Creating Enumerator
Order statuses by default configuration are Draft – Validated – Processed - Close (Delivered or Canceled)
In order to go to Stage Processed, the stock for each Product or Service on stock has to be set. That means that exact stock, from the inventory has to be appointed. If that is not done the current message will appear

This is how the stock is appointed:
Click on the square near the Item as shown below

Then the Item area appears, upon hovering on the Stock property, the Quick Edit icon appears on the right 
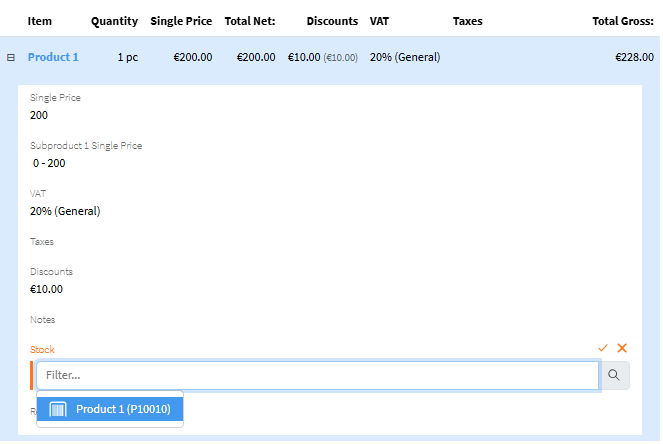
The stocks that are available, and which Product corresponds to the Item, appear as choices.
Same can be done in the Edit mode of the Order or Quick Edit of Items.
After the stocks are set for each Item that needs it, the Status can be changed to Processed and Invoice object can be created.
Documents such as Proforma Invoices, Order Acknowledgements (or other) can be generated by Fill in Template in Actions. See Creating a template for more details.
Creating a project from Sales Order
More information can be found in Project Management chapter
- From Create New/Other – Project
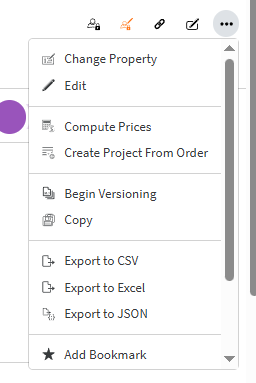
- From the Order can be created by Actions/Create Project from Order
The new object is created of type Project.
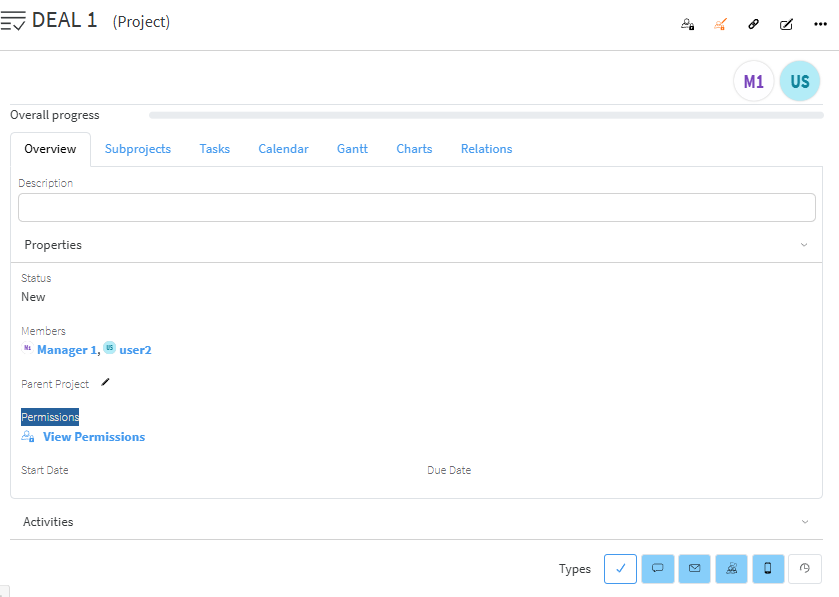
New tasks or subprojects can be added as follows:
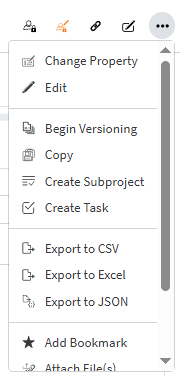
If different types of Tasks are defined, they can be used for the specific processes in the company.
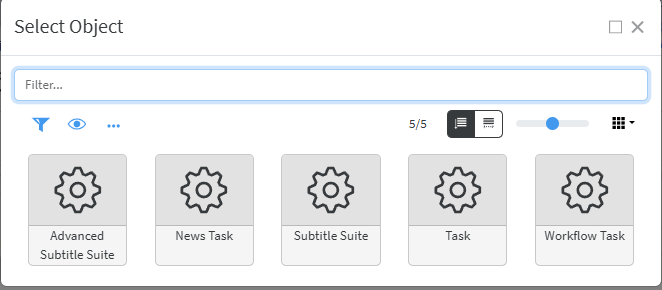
This is how a simple task looks like:
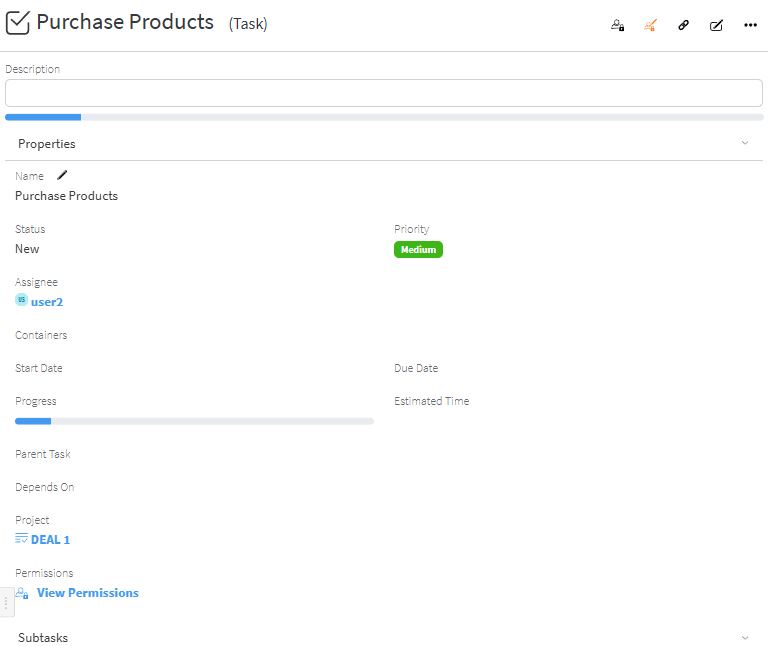
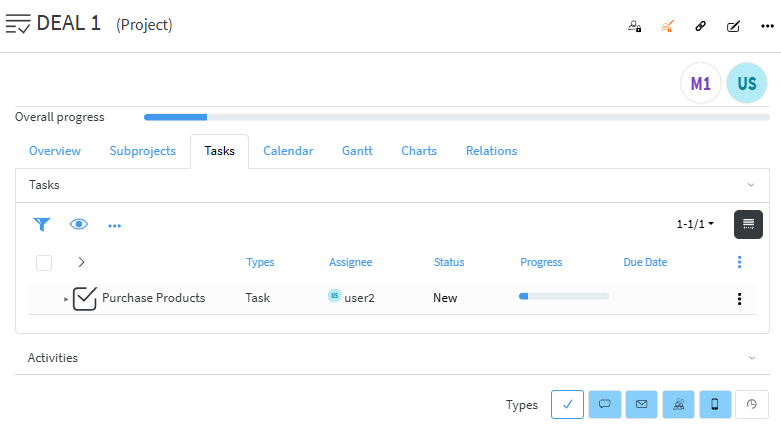
Tasks to the Projects appear in the Tasks tab
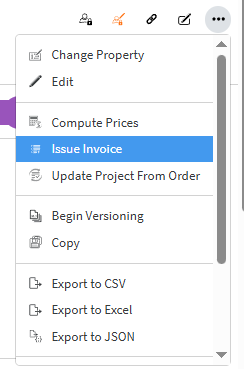
Issue an Invoice
From the order, which status is Processed Invoice can be created by Actions - Issue Invoice

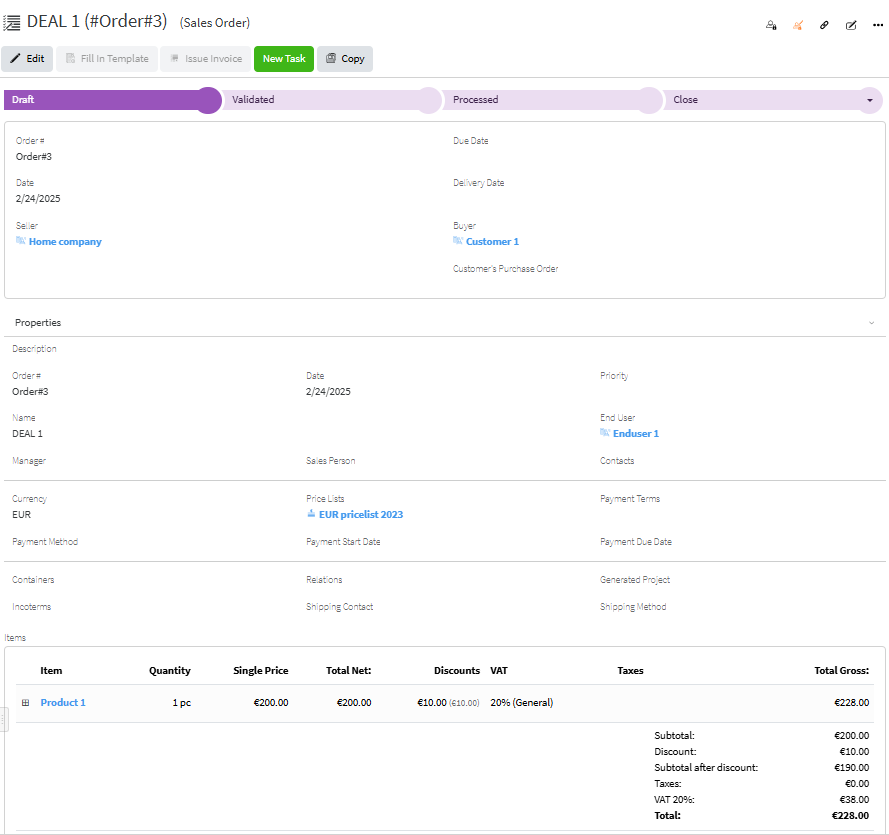
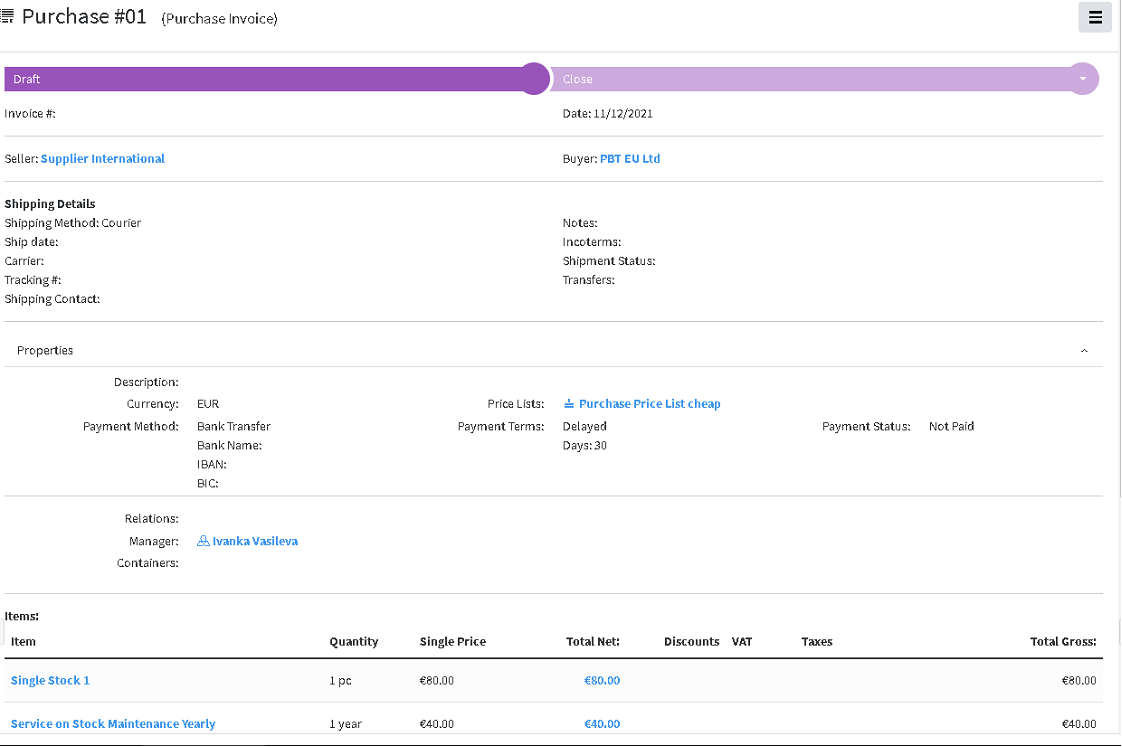
The object of type Sales Invoice is created with the data from the order.
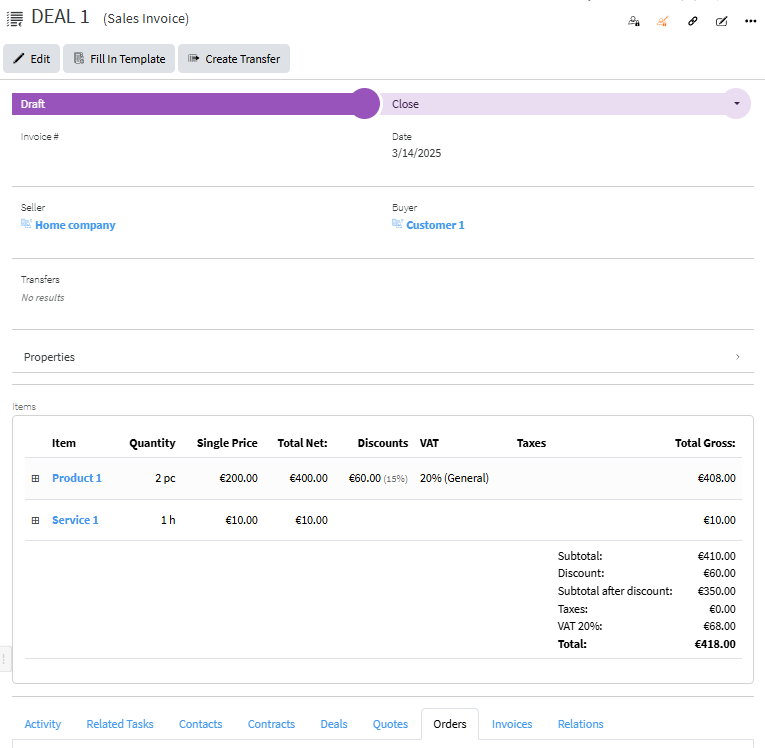
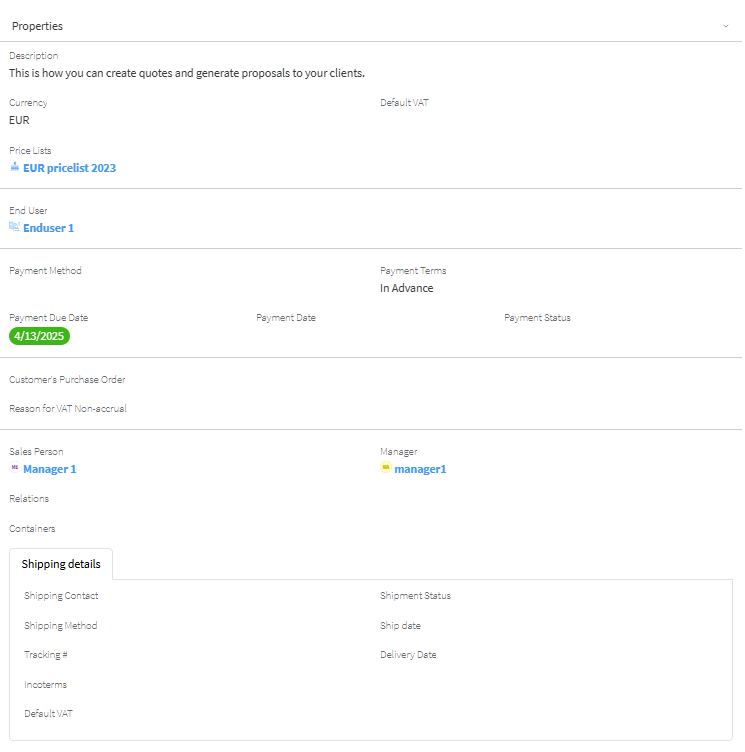
Properties field can be shown or hidden by pressing the arrow at the right part of the row 
When extended it is generally as follows:
Generally, depending on the official rules for Invoice numbering, different Enumerators can be chosen. See Creating Enumerators for details.
When the status is set to Validated, the number and current date are automatically assigned (Number will appear if a proper Enumerator is defined).
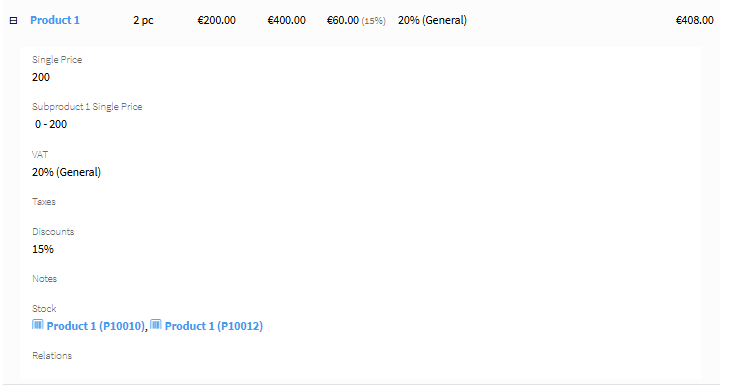
If you need to see more details for each item and which stock is assigned to the Item, click on the  near the Item.

The export of the Invoice details to a MS Word document can be generated by Fill in template, choosing the corresponding Template. See Creating a template for more details.
The process of delivering Stock items to customers is described in Sales Transfer section
Products and services
Creating New Product
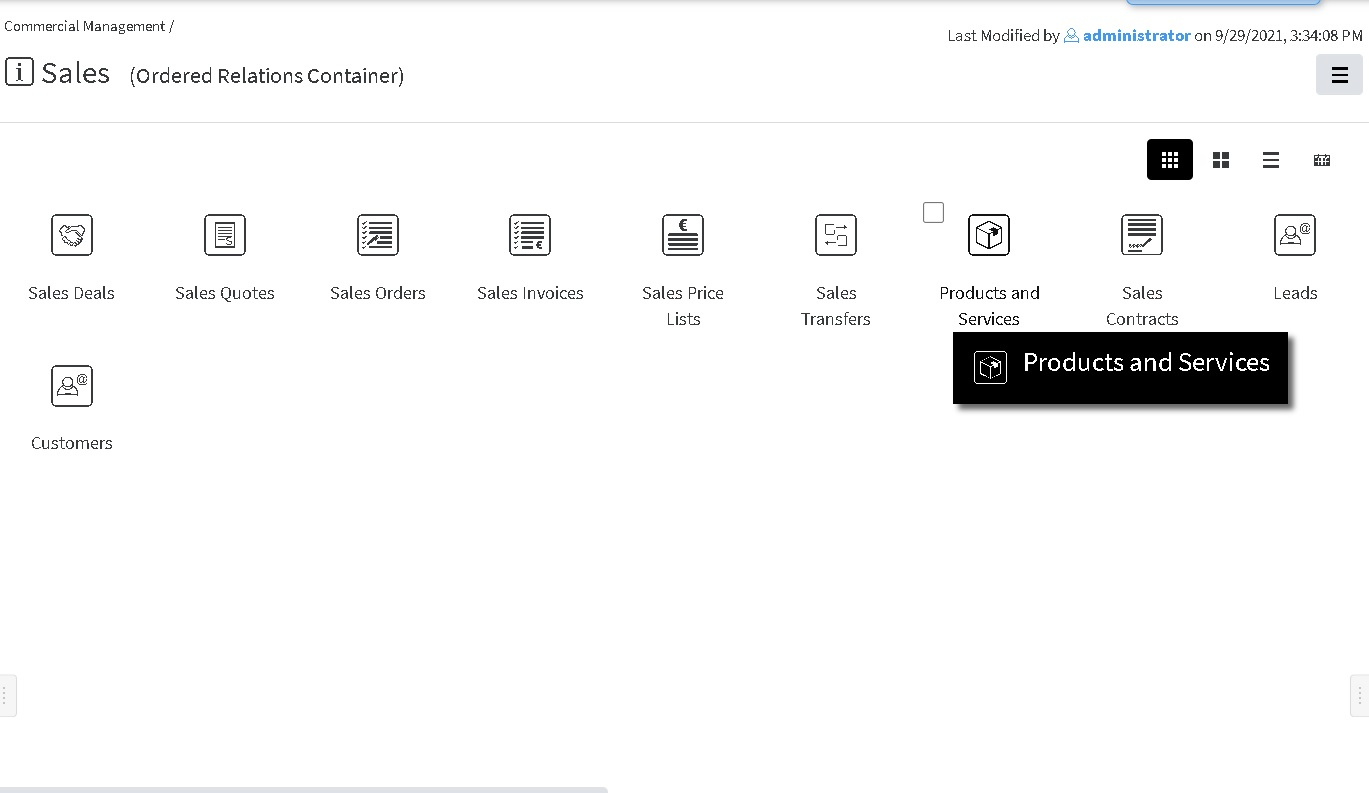
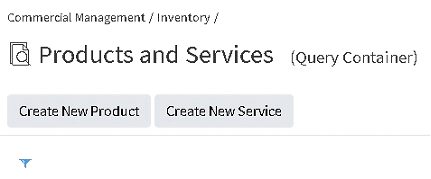
This can be done, using the corresponding buttons, directly from Commercial Management, Products and Services Container, which can be found in each Sales, Purchases, Inventory Containers
Commercial Management, Sales - Icons view:
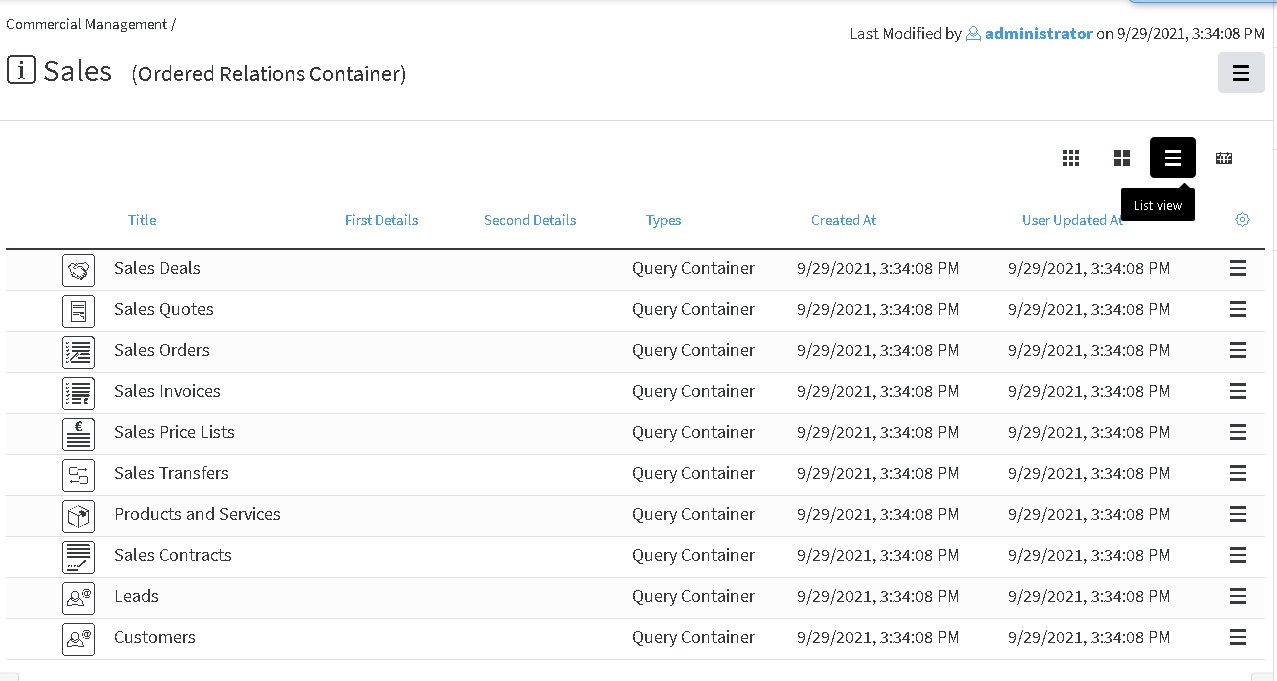
Commercial Management, Sales - List view

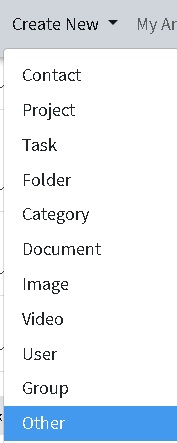
or following the general rule for creating object
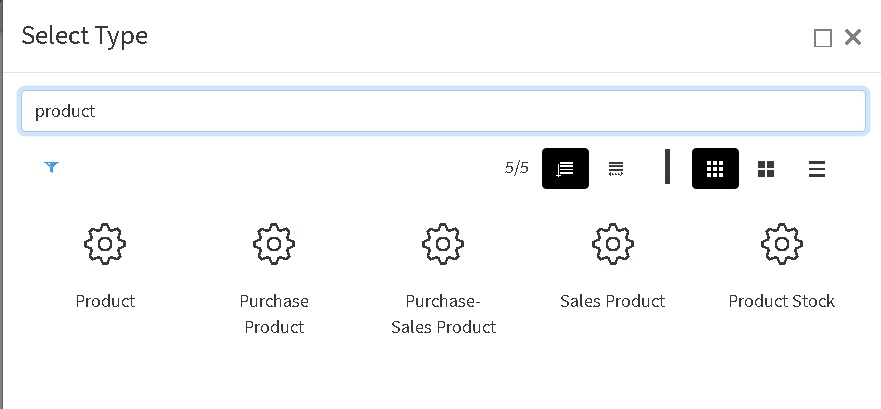
Depending on the purpose of the product/service it can be for Purchase only (Purchasing product), for Sale only (Sales product) or for both (Purchase-Sales Product)
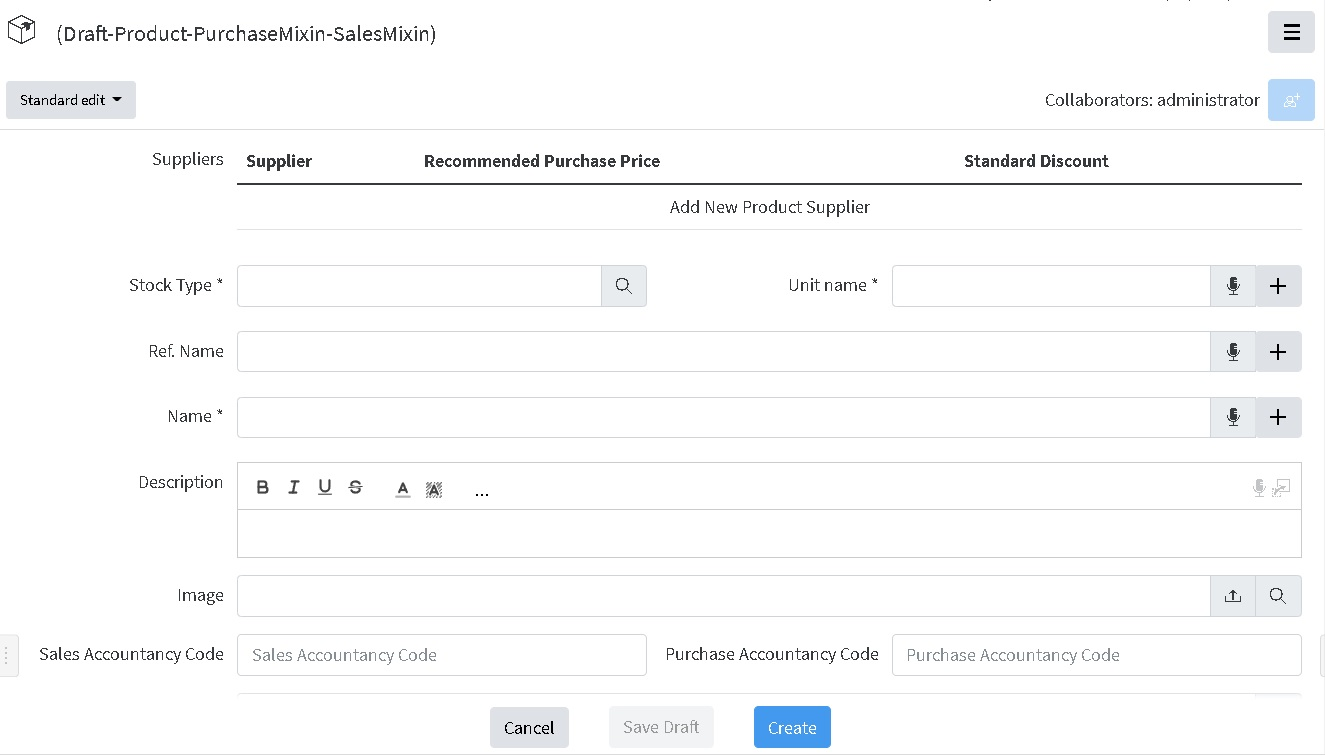
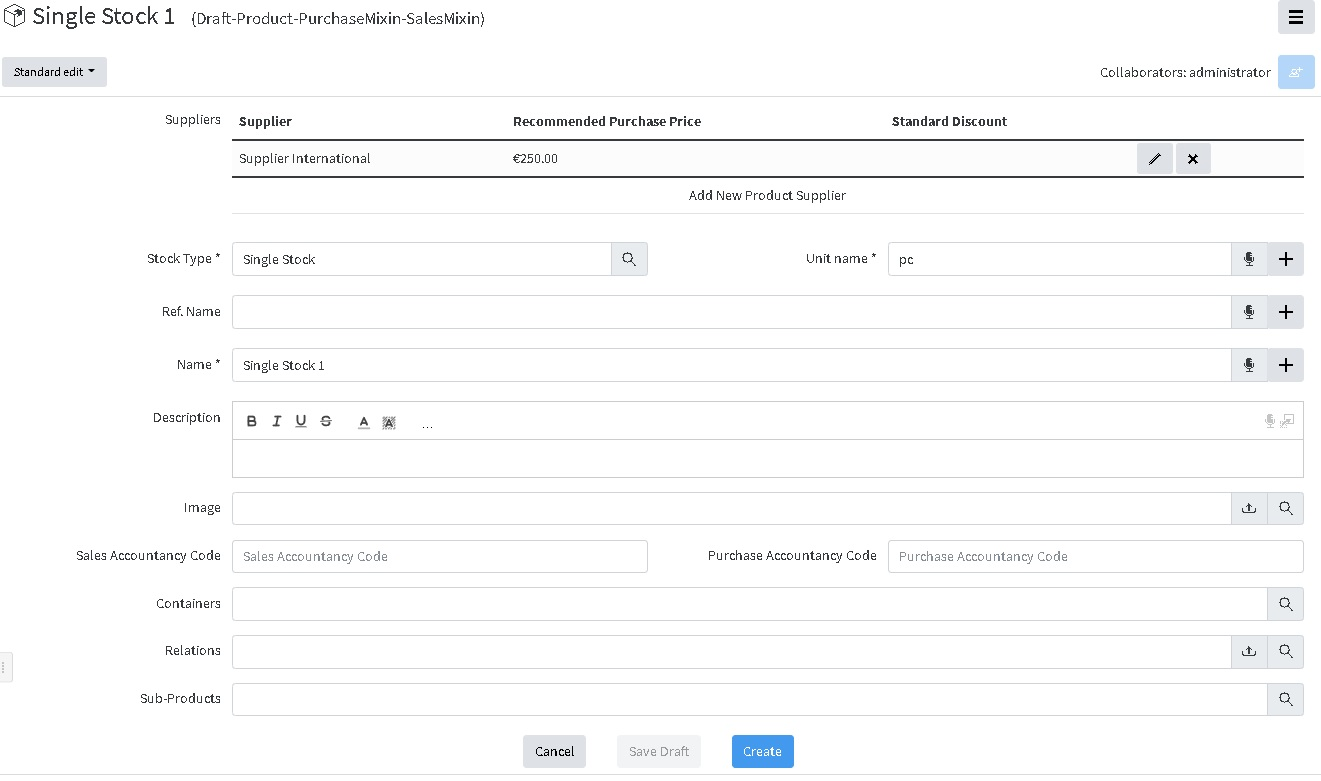
When the New Object Window opens, some Common Details for all kind of products can be defined.
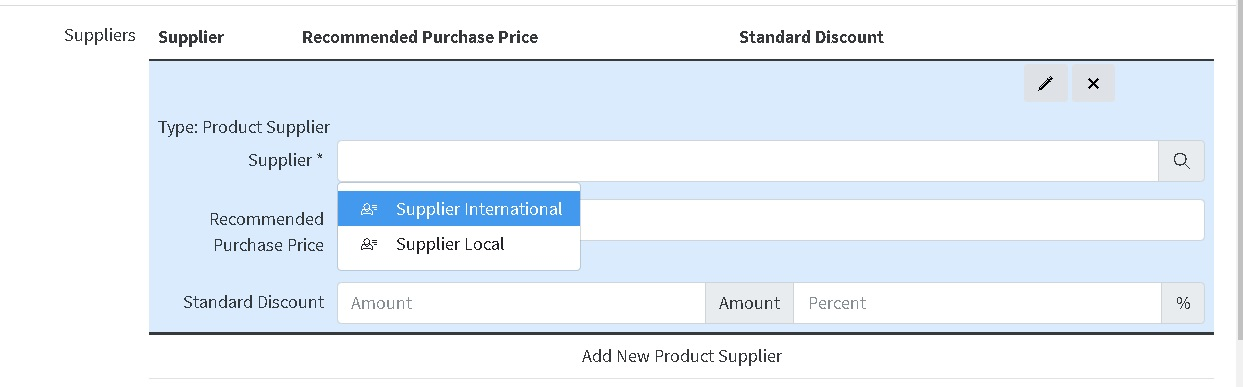
A supplier can be added pressing on the Add New Product Supplier
Supplier can be chosen by the Options that appear when clicked on the empty field near Supplier*
Then the Currency options appear by clicking directly on the text Currency
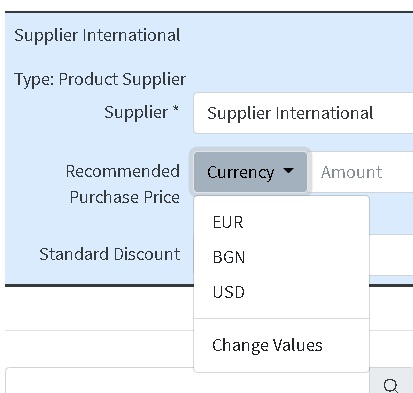
And the price is written in the next field
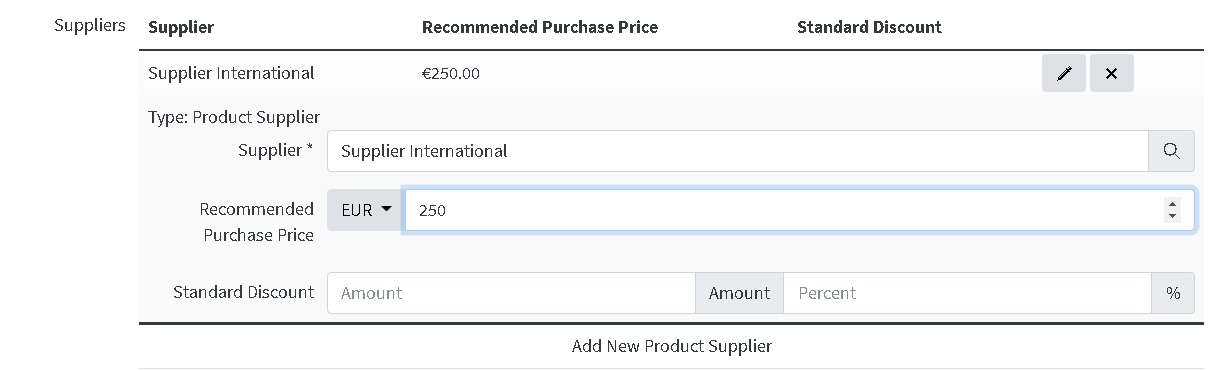
Then discounts can be described in fixed amount and/or percentage
If another Supplier needs to be added, that can be done in the similar way by pressing the below the already defined supplier details
The details: Stock type, Unit name and Name are mandatory (marked with *). Other details are optional.In order to align with the accountancy papers, there is an option to put as details Purchase Accountancy Code and Sales Accountancy Code.
The process is finished by pressing button Create at the bottom of the screen.
And this is how the Product Page looks like:
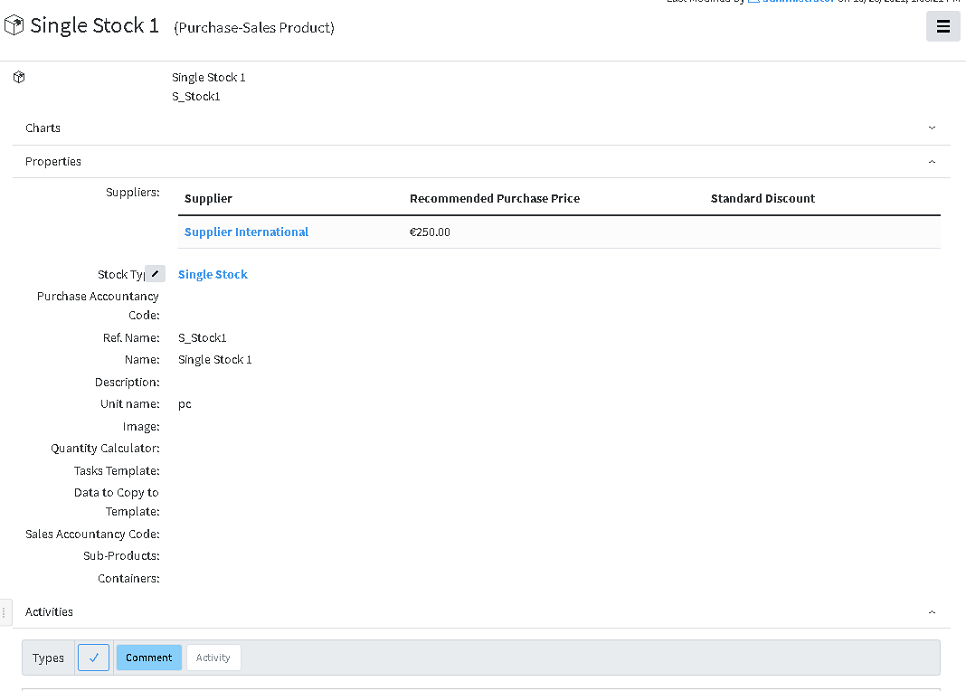
here are 3 zones – Charts, Properties, Activities, that can be expanded or hidden by pressing the ^ at the end of the rows
Creating New Service
Similarly to creating a new Product, this can be done directly from Commercial Management, Products and Services Container, which can be found in each Sales, Purchases, Inventory Containers

using the corresponding buttons
or following the general rule for creating object
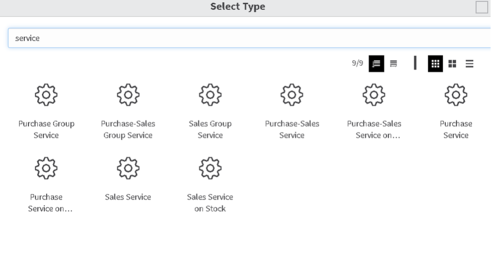
Depending on the purpose of the service, there are several types of services and each has their sales, purchase, or purchase-sales variant.
Service – used for any services, apart from the below two cases.
Group service – used for many stocks, serviced under one contract with same conditions
Service on stock – used for service (for example maintenance) on the specific stock. When defining, the product on which that service will be applied should be specified mandatory.
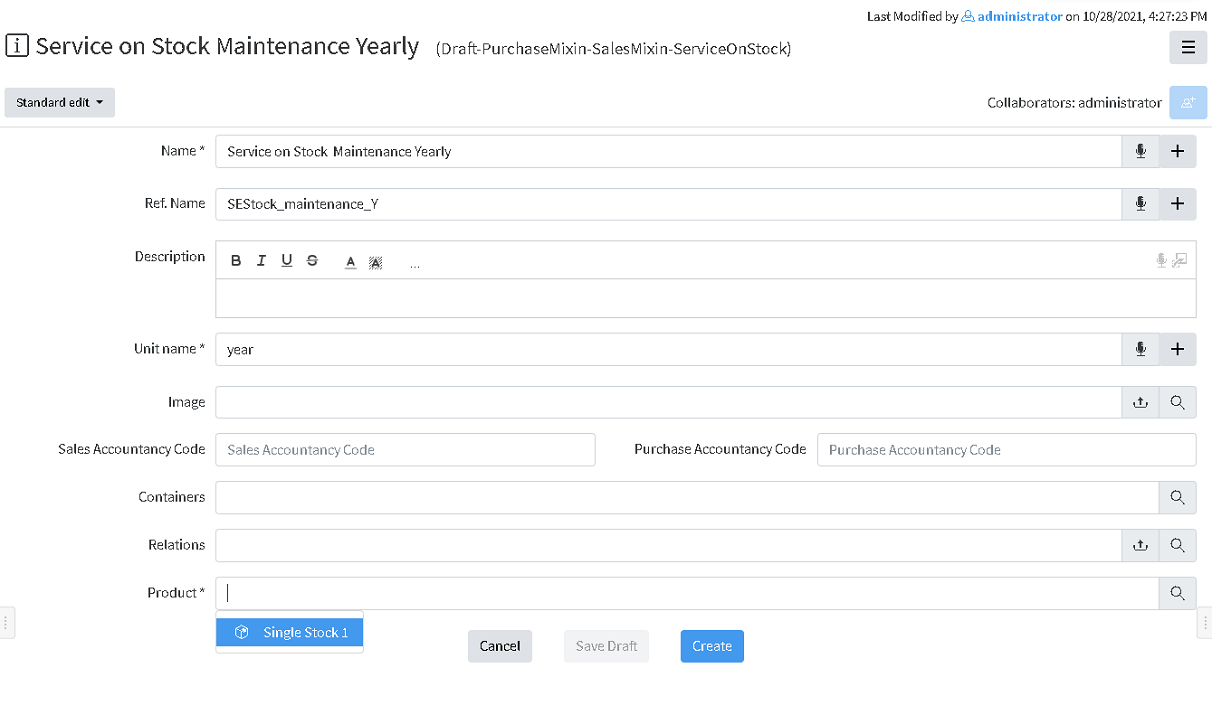
The process is finished by pressing button Create at the bottom of the screen.

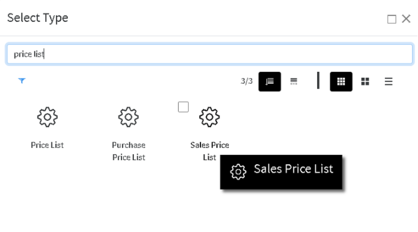
Creating Price list
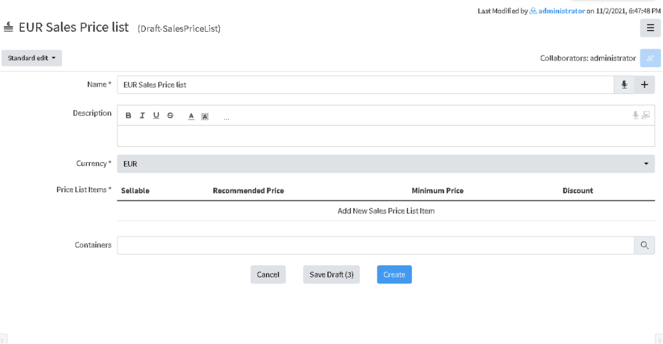
Creating New Price list can be done via Create New – Other and selecting Sales or Purchase Price List
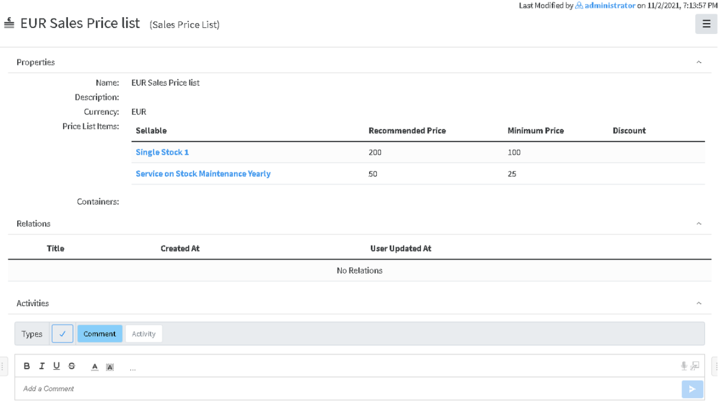
Let’s chose Sales Price List, then the following screen appears
To add an Item in the list just press on Add New Sales Price List Item a and the new area will appear
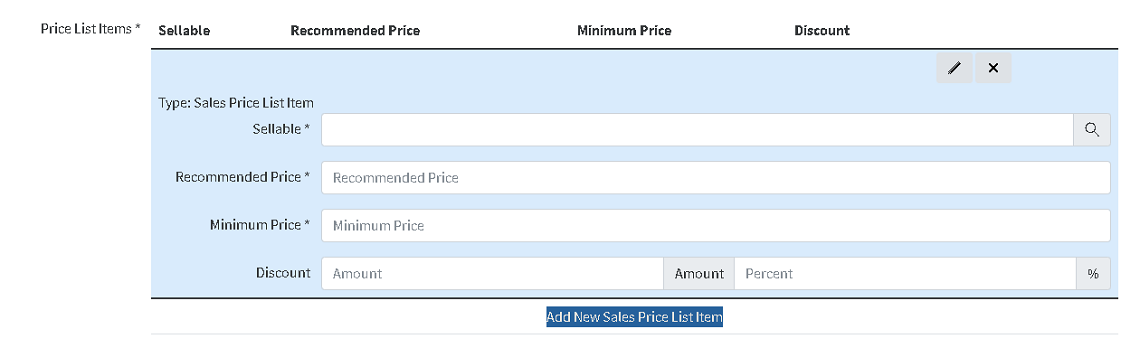
On a Sellable field available products or services should appear as options and one can be chosen to be included in the list
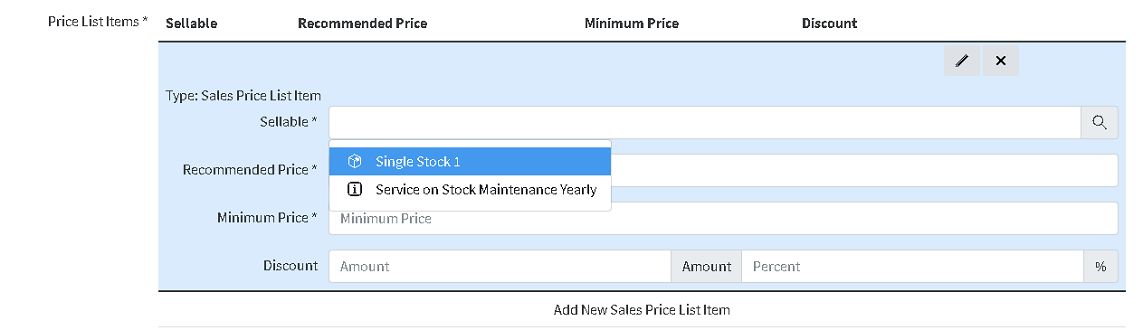
Recommended price and Minimum Price should be defined, as well as Discount amount or percent.
Another sellable item can be added by Add New Sales Price List.
By the pencil button ![]() the details for each item can be shown or hidden.
the details for each item can be shown or hidden.

Once all details are defined, process is finished by Create button.
Purchase process
It usually goes this way:
Purchase Deal (Optional)– Purchase Quote (Optional) – Purchase Order – Purchase Invoice – Purchase Transfer (for products) – Inventory (for Products), but it can be configured to skip some steps if do not necessary.
In oder to start, Products, services and Price lists has to be defined. Please, refer to Products an services section
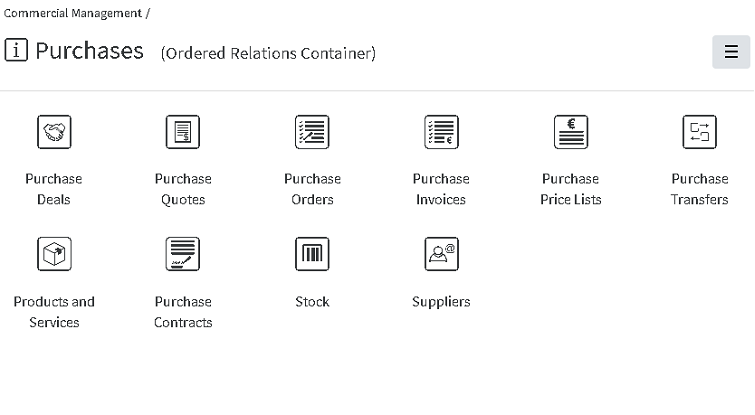
All objects part of the process or related are listed in containers Purchases section of Commercial Management module.
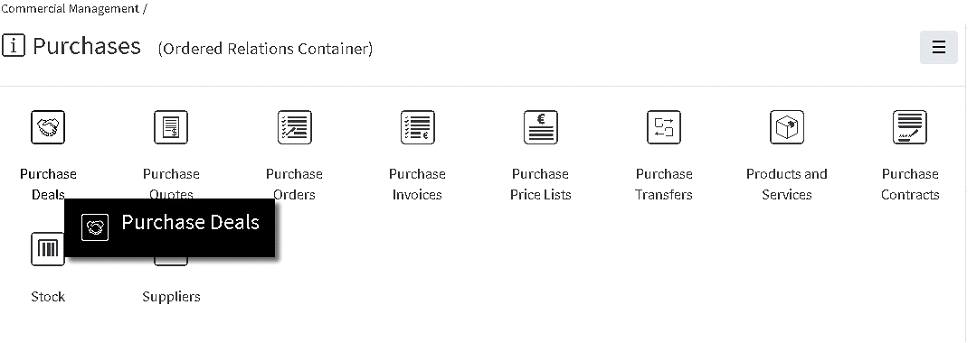
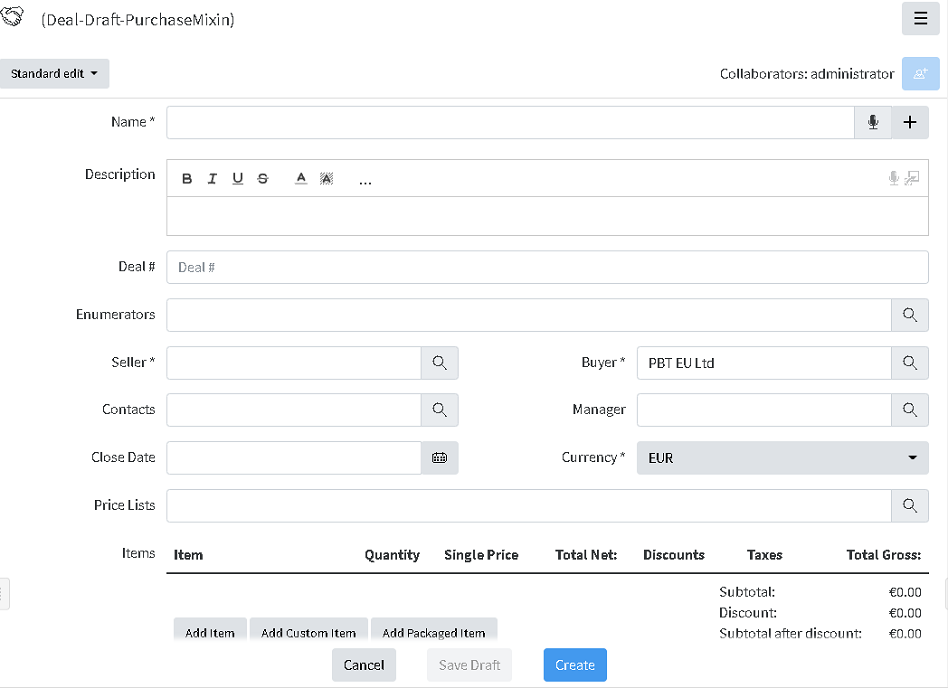
Starting a Purchase Deal
- Starting a Purchase Deal can be done directly from the Purchase Deals container in Commercial Management folder
Several basic details need to be defined upon starting: Name (you choose as per important information), Seller and Buyer, Currency and Price List (Mandatory)
Seller can be chosen within suggestions, shown after entering several letters in the Seller field. The list of available options to choose from contains companies, defined as External and Suppliers. LINK TO Contacts
There are other optional details, such as Manager, Close date, Payment Method. Payment terms, Shipping method, Contacts etc., that can be added or edited later.
Enumerators can be added in advance to use automatic numbering. Creating Enumerator
Items can be added now or later on by Actions/Edit.
Add item is used for adding defined products/services (see Products and Services), included in the corresponding selected Price list.
Add custom item does the same thing, for the items, which are not defined as products, usually this is necessary for custom products, with a special description or price, needed once.
By pressing Add item, a new field is shown, where to select the item to be sold and define Quantity and Price will appear, once Quantity is selected, VAT, taxes (fixed amount or percentage, discounts (fixed amount or percentage) and relations if any.
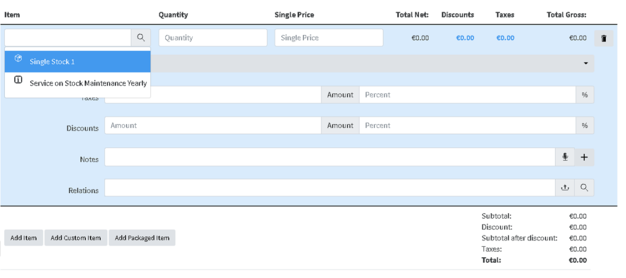
More Items can be added by buttons below.
After entering all details, press Save and the item will appear in the Deal. If amendment is needed that can be done via Actions/Edit (or Edit button) and pressing on the item to view the fields described above.

Additional details such as Probability, Priority, Category and Container could also be defined if needed.
Deal # by default is a text, depending on the company policy for numbering Purchase deals, however automatic numbering can be additionally configured. Enumerators can be added in advance to use automatic numbering. Creating Enumerator
After entering the necessary details and Saving Deal is created. If edit is needed that can be done via Actions Menu/Edit.
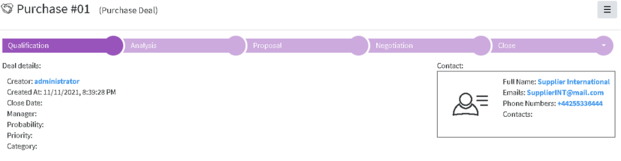
Purchase Deal Stages
Default Stages of the Purchase Deal are: Qualification, Analysis, Proposal, Negotiation, Close (Won/Lost)
Create a Quote from the Deal
Creating a Quote from the Deal can be done in any of the Deal’s stages and That is done via Actions Menu/Generate Quote.

Once Quote is generated, the relation between the Deal and the Quote can be seen in the tabs at the bottom of the Deal object.

The generated quote has the same Title as the Deal. In order to avoid confusion, the text in brackets near the name of the Object shows the kind of Object it is (Purchase Quote).
It can be Edited by Edit Button or via Actions Menu/Edit.
Details can be added or edited.
Quote # by default is a text, depending on the company policy for numbering Purchase quotes, however automatic numbering can be additionally configured. Enumerators can be added in advance to use automatic numbering. Creating Enumerator
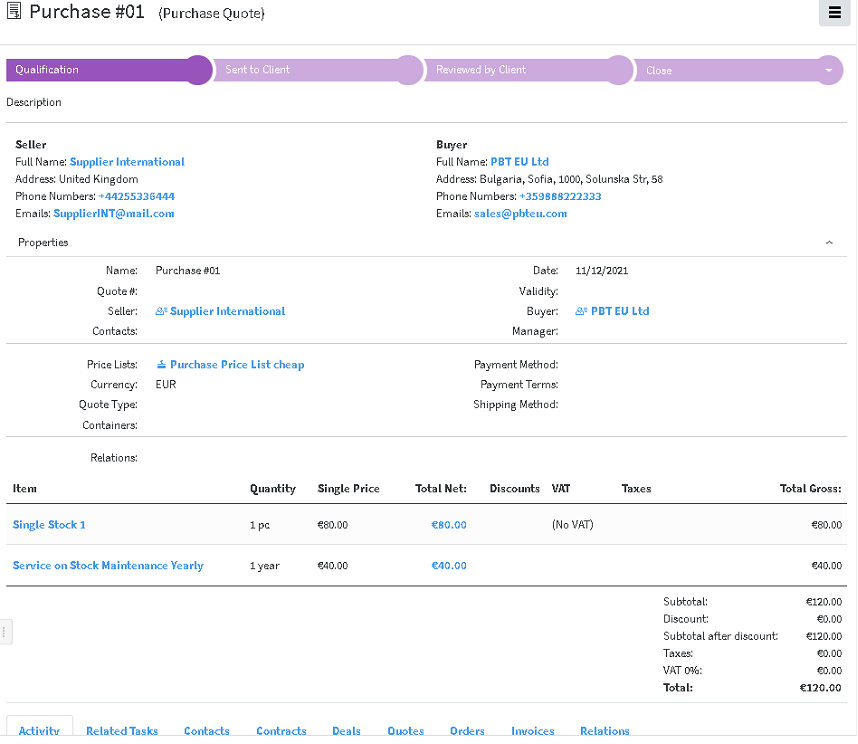
Quote has the following stages:
Qualifications, Sent to Client, Reviewed By Client, Close (Approved/Declined), which can help track the different Quote stages.
If necessary, Fill in template operation can be used to generate previously designed template for Quotation.
Next step is Create Order from Quote
Create Order from Quote
Order can be created from Quote or directly from the button in the Purchase Quote folder.
In case created from Quote, the details are copied to the Order created.
Again, the Purchase order created is opened automatically and can be edited or details can be added via Edit Button or via Actions Menu/Edit.
The generated Purchase order has the same Title as the Purchase Quote
Order # by default is a text, depending on the company policy for numbering Purchase orders, however automatic numbering can be additionally configured. Enumerators can be added in advance to use automatic numbering. Creating Enumerator
Stages of the Purchase order are as follows: Draft – Validated – Processed – Close (Delivered/Canceled)
Once it is Validated Fill in Template operation can be used to create Purchase Order documents.
It is available via button or via Actions Menu/Fill in template.
It can be used to generate from previously created template, a file in pdf format, which can be sent to the seller if necessary.
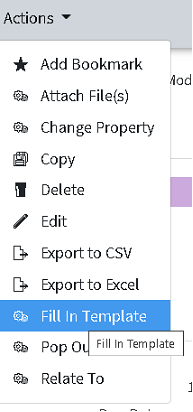
Here is how it can be done:
After clicking on the Fill in template button, a window opens, asking to Select the template to be used. The corresponding templates appear possible for selection
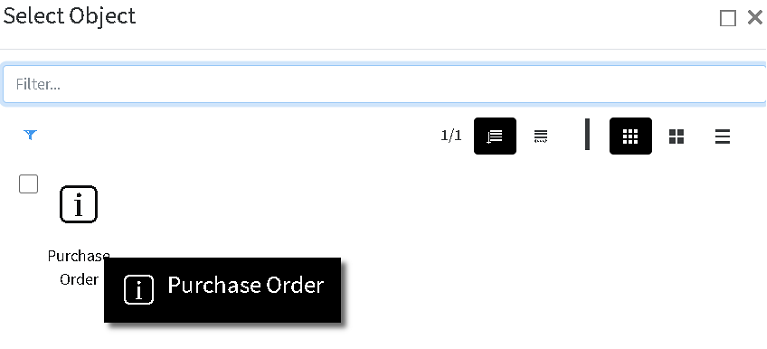
Once selected, the template is created and opened in .docx format, and the corresponding .pdf file can be seen in the Transformations field on the right.
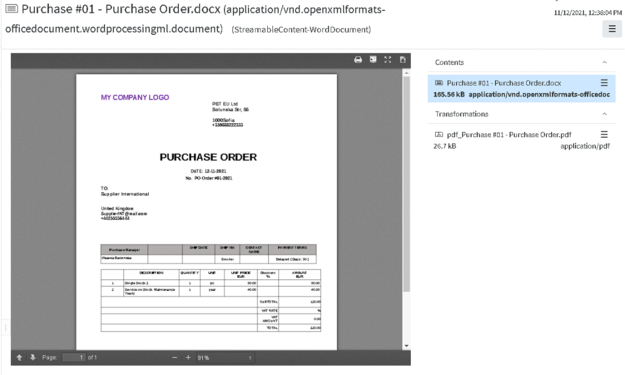
Names of the generated files are combination between Title of the Purchase order and Template name. It can be downloaded by pressing on the ![]() sign
sign

When in Purchase order, these files appear in the Relations tab at the bottom

Issue an Invoice
When proceeding to the next stage of the Purchase order - Processed, Issue Invoice button or Issue Invoice in Actions menu, becomes available.
When pressing the Issue Invoice button, Invoice is created. It contains the details from the order, but some additional details appear such as: Invoice #, Date, which corresponds to the details from the Invoice from the supplier. The Invoice from supplier, if available digitally, can be uploaded in Lapis and then related to this object
If Сhipping details are available, they can be added as well.
Payment status appears here and has several options, which are visible in Edit mode via quick edit
The Invoice status can be changed, once all available details are entered.
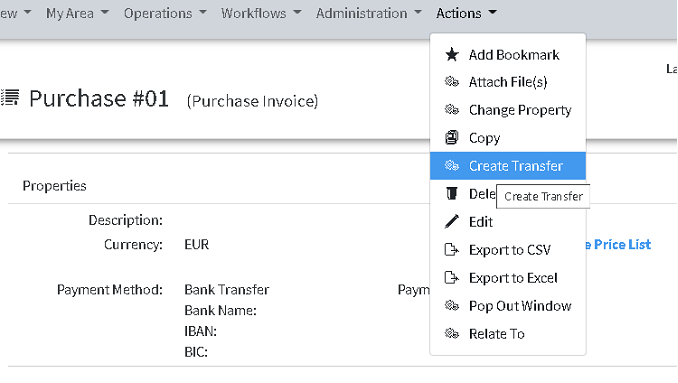
Once Purchase Invoice is created, it is already possible to enter the stock in the warehouse, which is done by Create transfer in
Transfer – the link to object Transfer will appear there, when available. Transfer creates stock in the Warehouse in Inventory container, with the details from the Invoice. The process is described in Inventory section.
Inventory
In the Inventory module, purchased or manufactured products are converted into Stock (with Serial or Part number) and can be kept, transferred, sold etc. Stocks are organized in Warehouses.

Stock type
There are currently 4 Stock types for products in Lapis – Batch stock, Single Stock, Compound stock, Packaged stock
Batch stock allows you to create a group of multiple units of an item, and assign them a unique value/number/tag called Batch No.
Single Stock is a unique stock item, it has a unique Serial No. and each unit can be traced.
Compound stock is a stock that consists of a list of possible subproducts, which are single stock type.
Stocks are managed within the Inventory, and used in Sales and Purchases processes. Each stock corresponds to a product, defined in the system.
Creating Warehouse
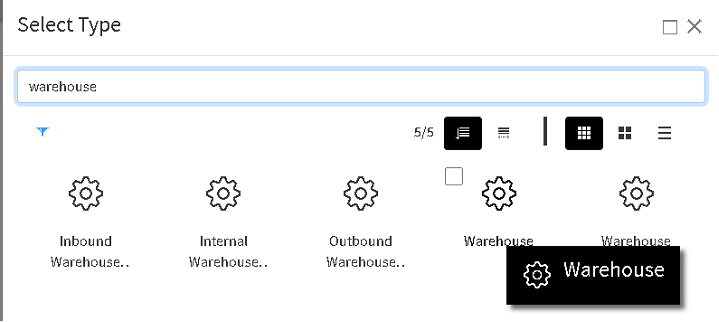
A New warehouse can be created via Create New/Other choosing Warehouse
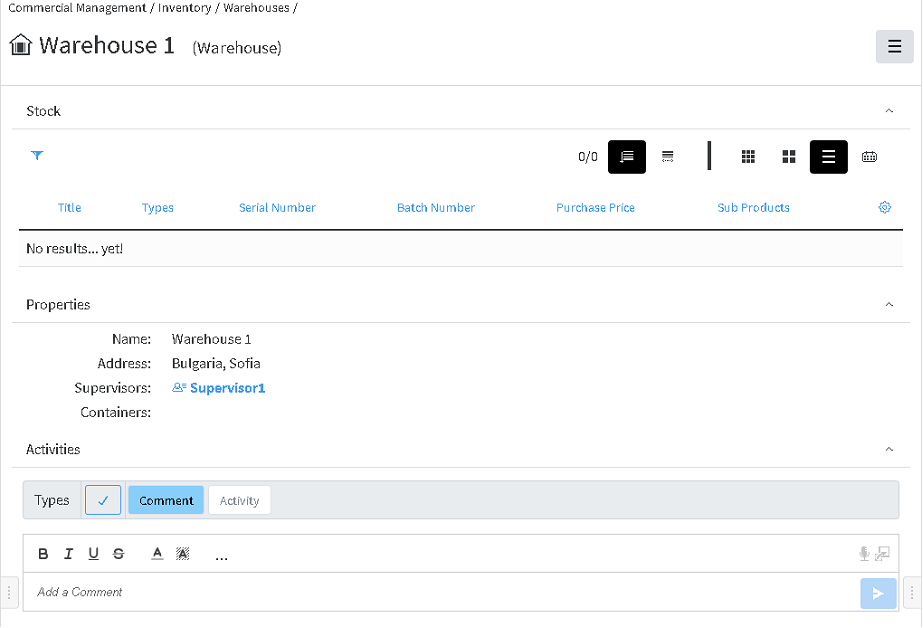
Name, address and Supervisor can be defined, as well as some standard for the system properties like Containers, Relations etc.
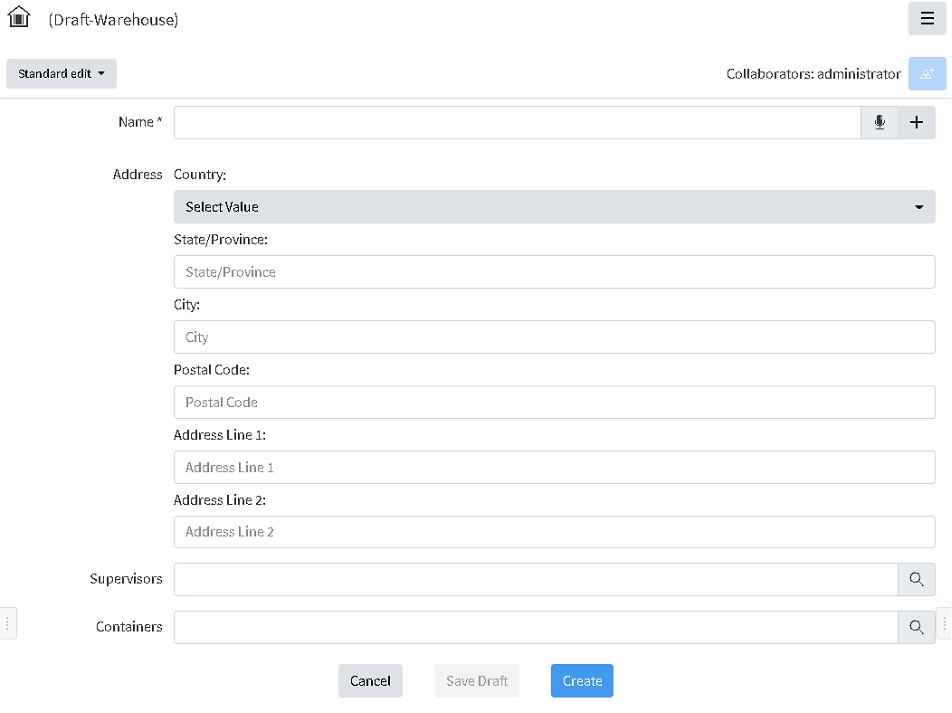
By pressing Create the warehouse is ready and can be seen in the Warehouses container.
Creating Stock via Transfer
The destination warehouse has to be selected
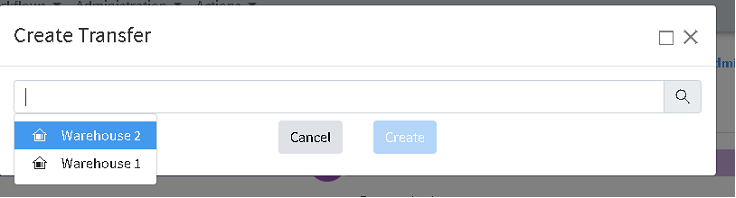
Choosing the warehouse and pressing Create, creates object Inbound Warehouse Transfer, which is actually Purchase Transfer.
It looks this way:
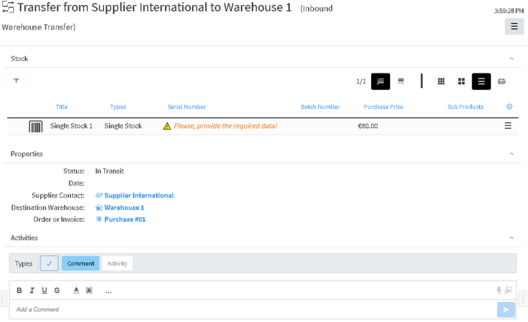
Items from the Invoice become stock in the transfer. The Serial number can be set by editing the details of the stock via Edit menu in the right end of the row![]()
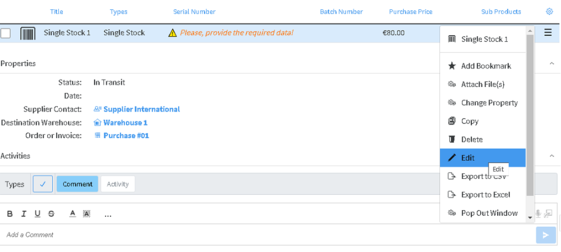
Then the Stock Edit screen appears, where details can be added or edited.
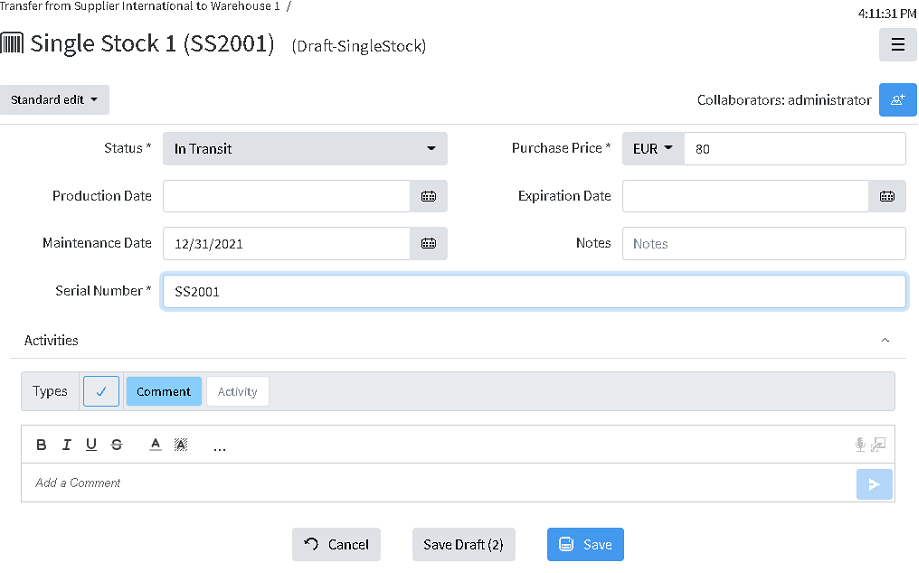
After saving the info appears in the Transfer.

The Tranfer is created with Status is In Progress, presuming that the products are shipped but not yet delivered to the Warehouse.
When the products are ready to be entered in the warehouse, the status should be set to Finished, and the Date has to be set.
Once the status is se to Finished, the stocks enter the destination Warehouse.
The Stock in the transfer appear as NON CURRENT, as new version of the stock is created, listed in the corresponding Warehouse
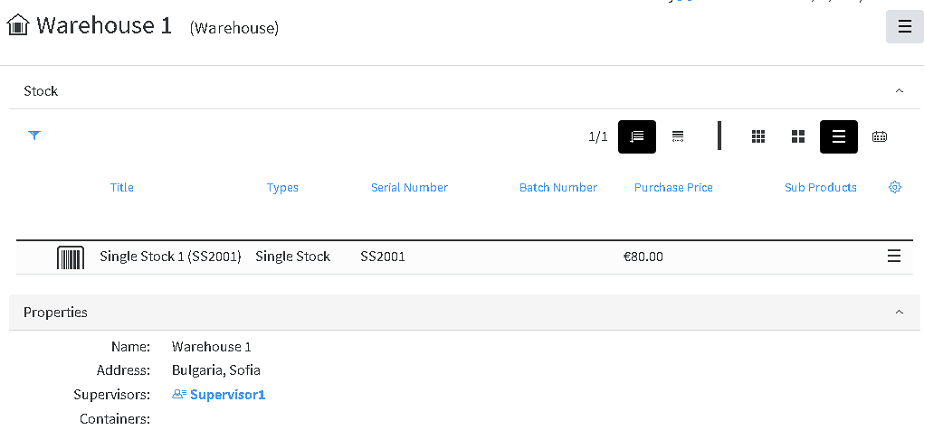
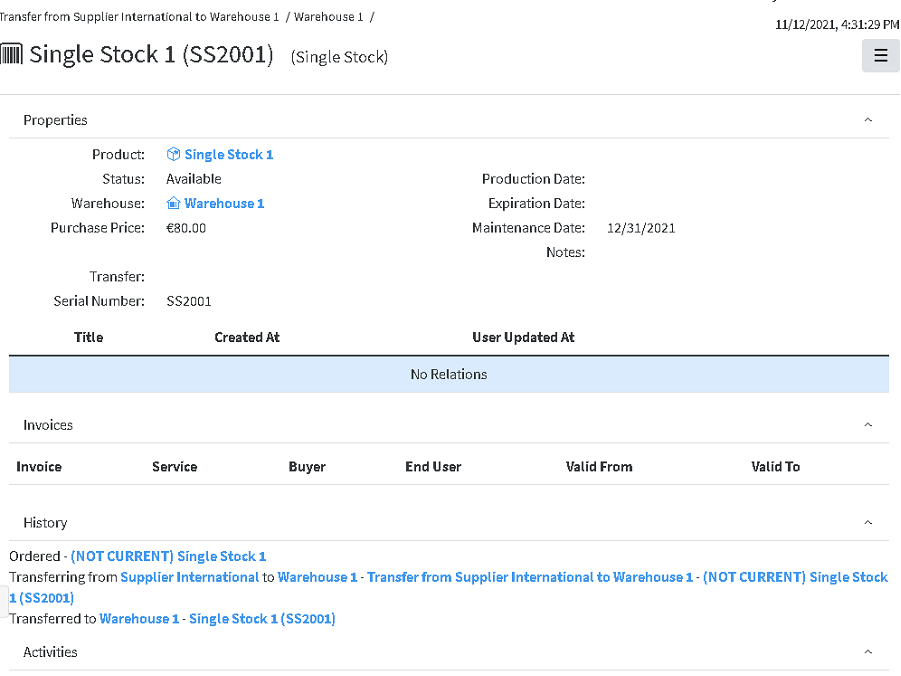
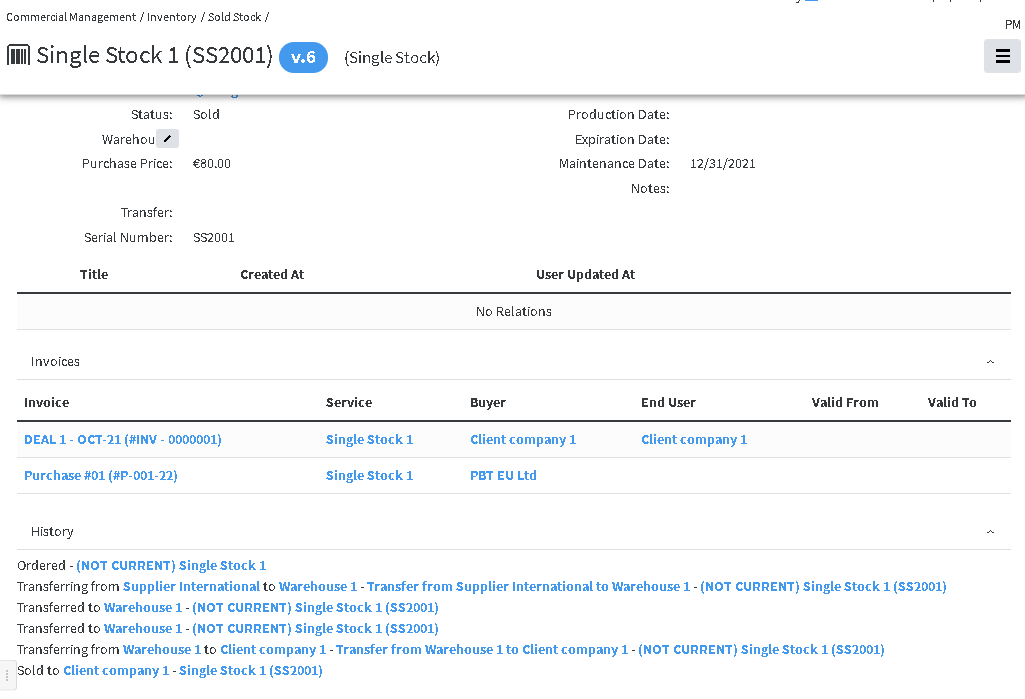
Clicking on the stock title, opens the stock object, with the information as follows:
Stock versions
With each change in Stock status or if it the stock is a part of Transfers of some kind, the new version of the Stock object is created.
The previous versions are kept in the system for reference and tracking
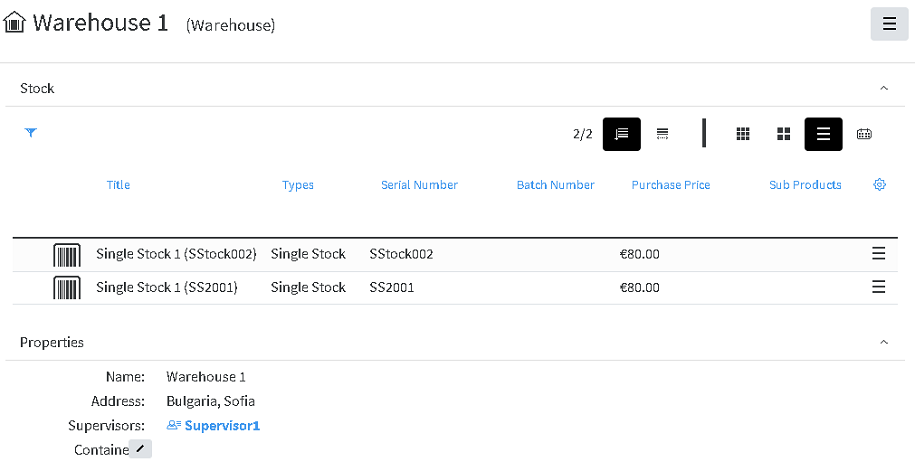
Here is how to see versions of the stock, which is available:
Find the stock in the warehouse and open it.
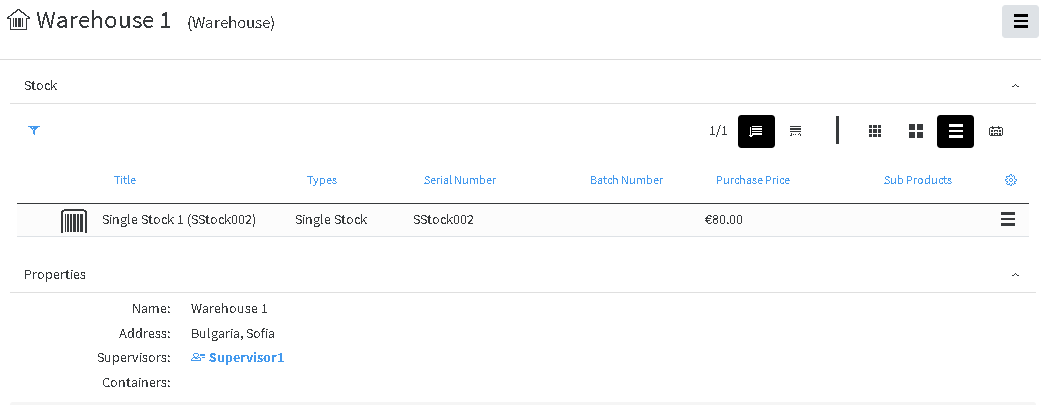
The number next to the name shows how many versions exist

By clicking on the number box, the list with versions appear
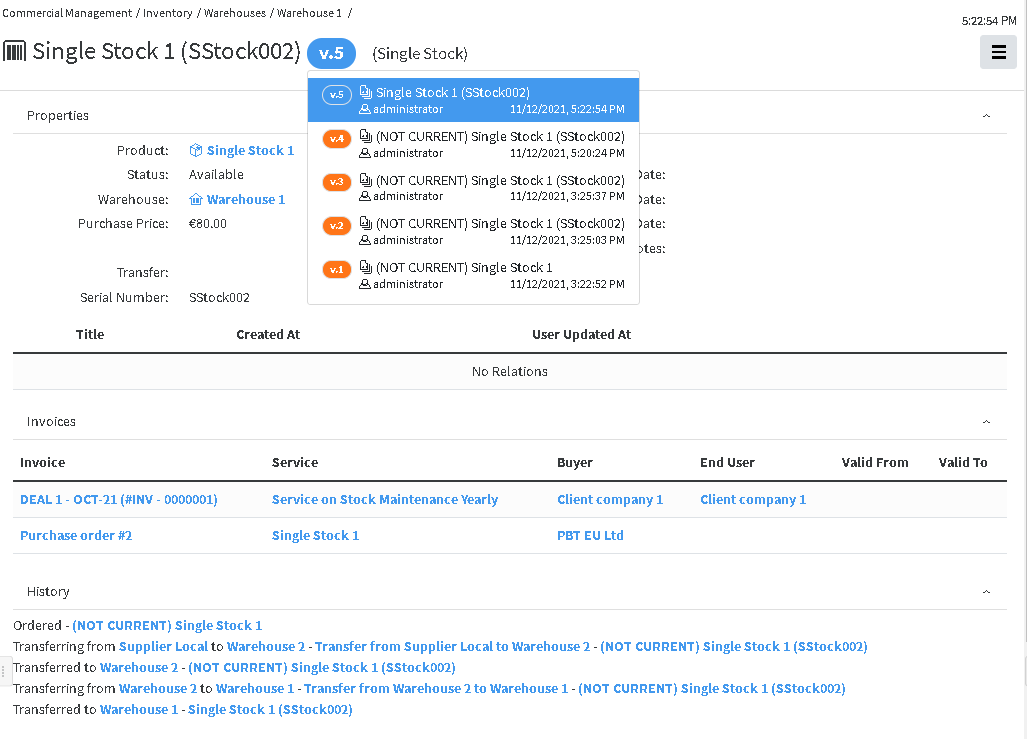
In the History section, the information of the transfers appear.
In the Invoices Section appear information of the Purchase Invoice and Sales invoice (if stock itself or service on it is sold)
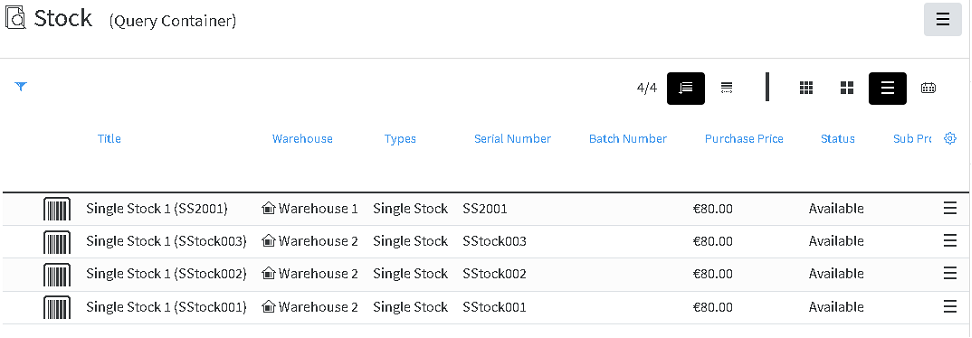
Transfer between warehouses
Find the product in the list of stocks In the Stock container
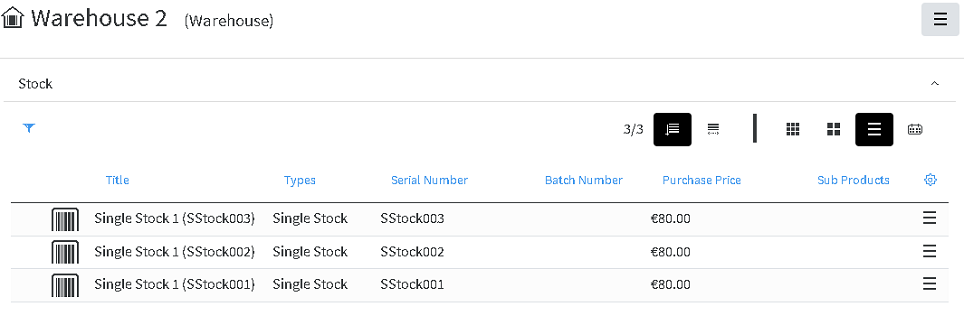
or in the corresponding warehouse
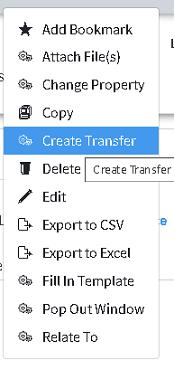
From the menu on the right of the product line![]() , choose Transfer and then choose the destination warehouse, and then press Create.
, choose Transfer and then choose the destination warehouse, and then press Create.
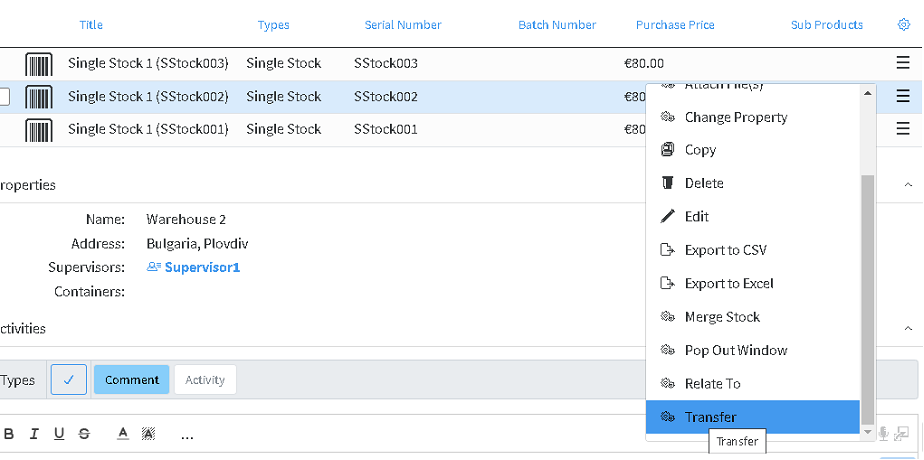
A new transfer is created with status In Transit.
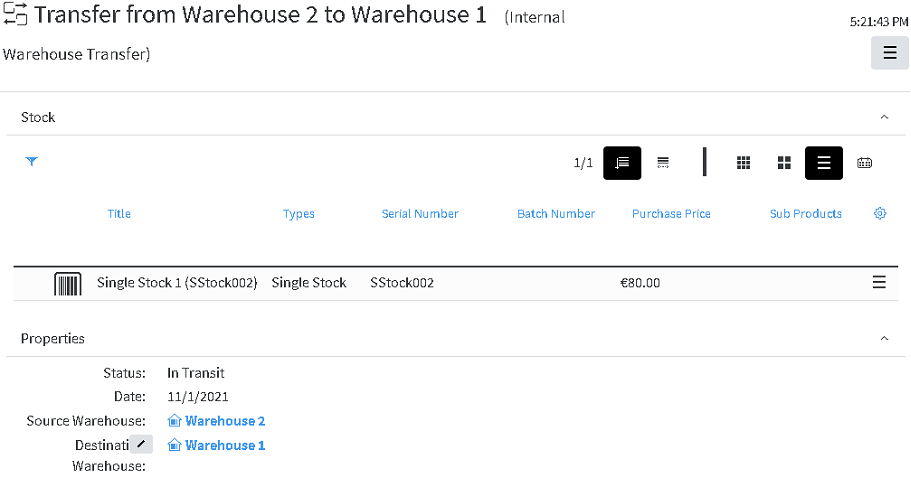
Once status is changed to Finished, the stock is moved to the Destination Warehouse.
Sales Transfer
During the Sales process, on the Order stage, after validation of the order, the status cannot be changed to Processed, if stocks are not defined for each Item in the Order (If they are products or Service on stock. The following message will appear upon trying to do so.

Adding a stock to an Item is done by Edit operation, then by clicking of the Item line, to reveal the Item section.
If you add a stock, which does not correspond to the Item product, the following message will appear:

After selecting stocks, for all Items, the status can be changed to Processed.
Once status Processed is set, the Invoice can be issued, from which Sales Transfer can be created.
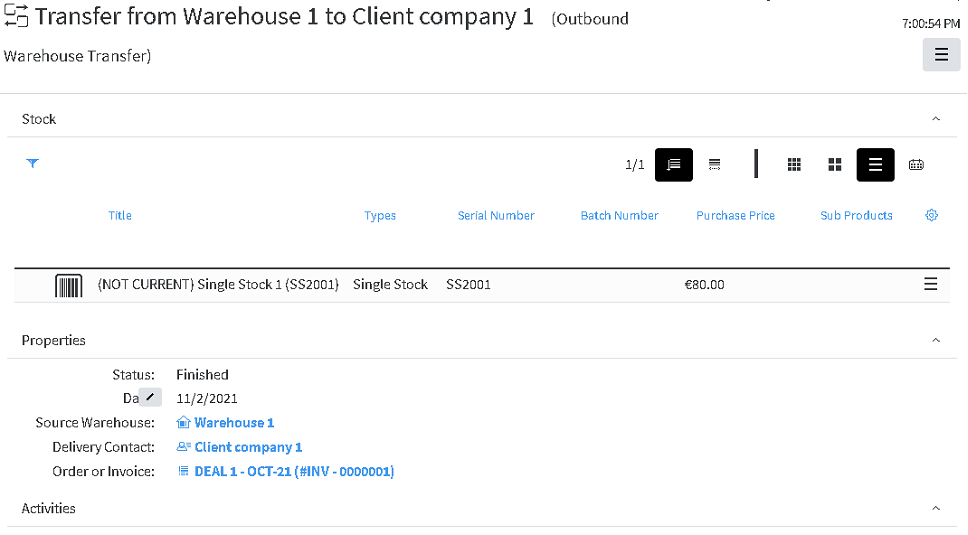
From Sales Invoice, Transfer can be created. This represents shipping and delivering goods to the Buyer.
The stock is taken out of the available Stock items, and kept for reference in Sold Stock container in Inventory section.
Transfer includes only stock items, not services. It is created with status In transfer.
Once the date is set and the status is changed to Finished, the stocks are moved to Sold stock container.
The new version of stock object is created and the one, listed in the transfer become NON CURRENT.
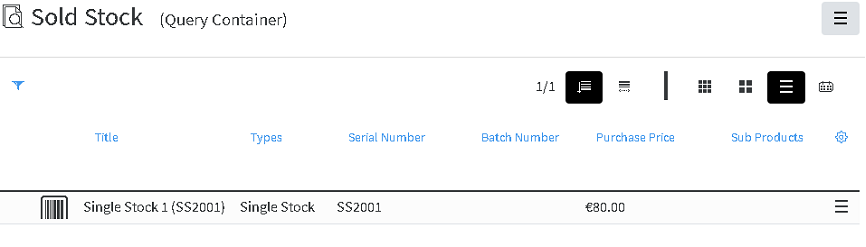
Stock items, included in Sales Invoices and included in Sales transfers with status Finished are listed in the Sold Stock Container in Inventory.
In the Stock object the info for its transfers can be foundin the History Area
Enumerators
Creating Enumerator
Automatic numbering of financial objects can be defined. Creating a rule and a format of numbering, can be done in the following way.
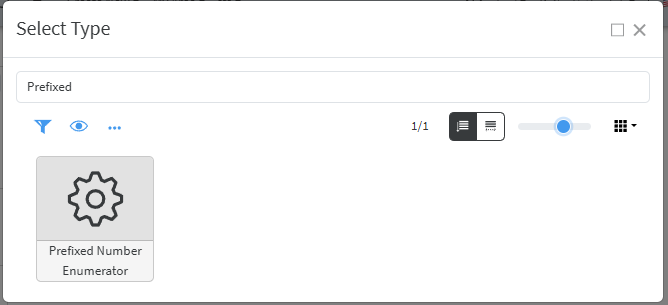
Create New/Other then find Prefixed Number Enumerator type
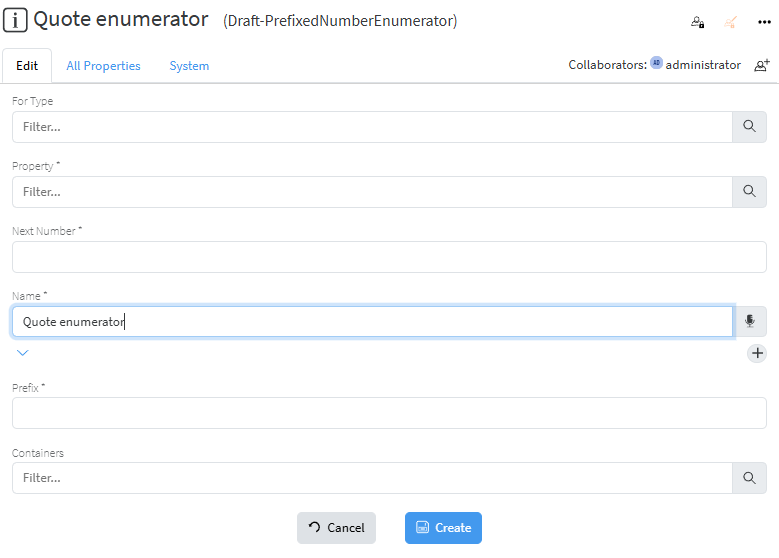
The type for which this enumerator is to be used. Let’s for example create enumerator for type Sales Quote.
For type should be defined as Sales Quote
Property is set to Quote # (Symbol)
Next number is the number from which the numbering will start
Name is the name of the enumerator
Prefix is the text used as prefix.
Once created, the enumerator will appear in the objects of type Sales Quote in the property Enumerator, when in Edit mode.
Document Templates
Creating Template
Template is the file to be used as a template in .docx format and has to be added in the system.
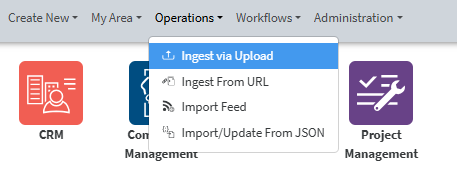
The file is added via Operations – Ingest via Upload
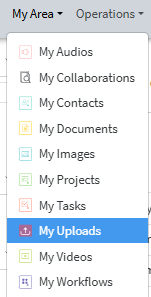
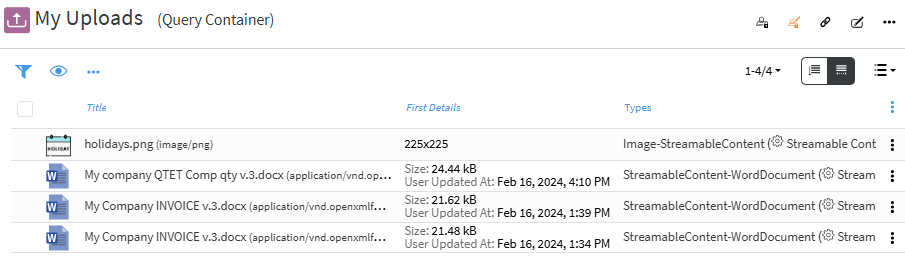
The file uploaded will then appear in My area/ My uploads section if the upload is done by you,
or has to be found in the system, if previously uploaded by someone else.
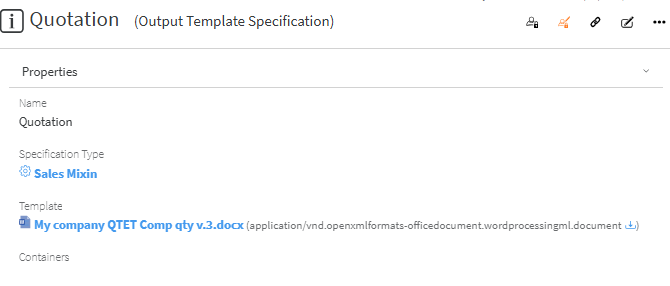
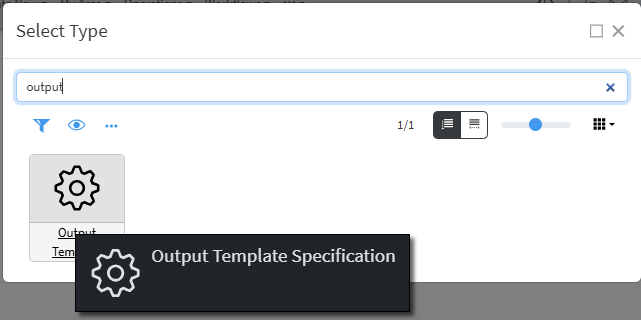
Output Template can be created by Create New – Other – Output Template Specification (it will appear if you start typing "output")
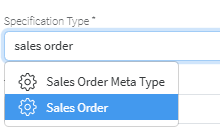
You need to set a Name and Specify the type to which that Template will be used.
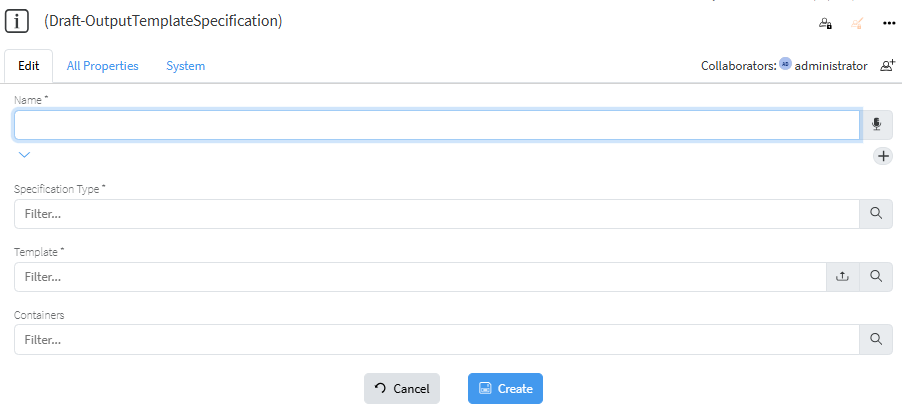
The Type has to be specified and can be easily found by typing at least one of the words in its name.
The file to be used is selected
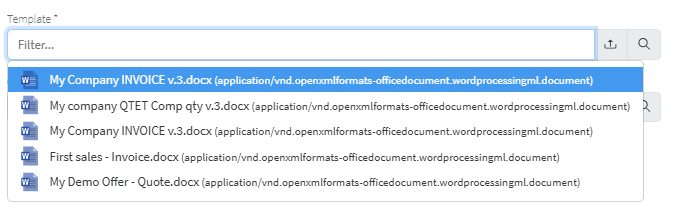
If .docx file to be used as template is not previously uploaded in the system, that can be done directly from this step by pressing on the  which will open file manager to choose file from your computer to upload (ingest).
The process is finished by pressing Create button and the object is created.